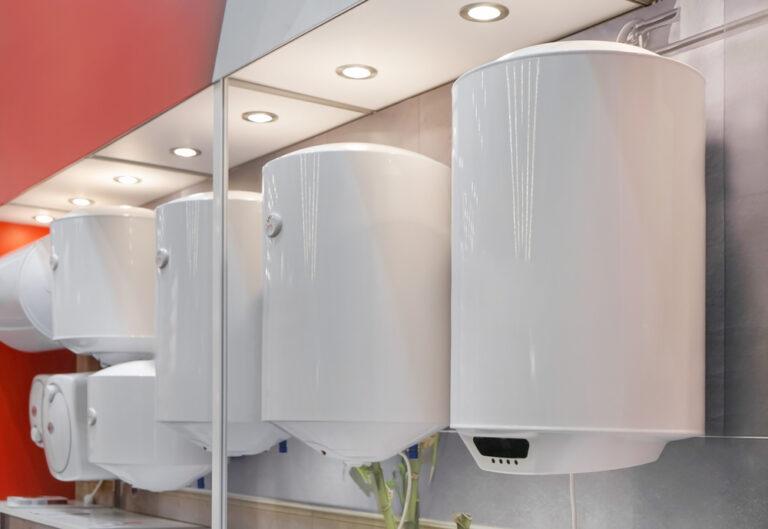
Electric Geyser Sound Problems & Solutions Guide
Strange geyser noises? ✓ Find causes, ✓ quick fixes, ✓ safety checks. Simple guide to solve popping, hissing & rumbling sounds fast. Book expert help if needed.
Your geyser starts popping, hissing, or rumbling like it’s about to explode, right?
Don’t panic. Most of these weird noises are actually pretty normal – usually just sediment and hard water scale buildup on the heating element doing their thing. Pressure changes and valve issues create noise too.
But here’s the catch: sometimes those sounds warn you about real problems like overheating, leaks, or failing valves. The good news? You’ll learn to tell the difference.
We’re walking through what causes these noises, how to fix them, when basic maintenance helps, and most importantly, when to call in the pros. Let’s figure out what your geyser is trying to tell you.
Sounds That Are Usually Harmless:
Slight hissing or crackling during heating is normal- it’s just water warming up inside the tank. Mild boiling-like sounds happen naturally in areas with hard water, as minerals react with the heating element.
Can’t figure it out on your own? No worries. Concord Services is here to help. We’re one of Kolkata’s most trusted geyser repair specialists, serving you and your neighbors with fast, reliable fixes.
Sounds That Signal Trouble:
| Problem | What You Hear | What’s Happening |
|---|---|---|
| Scale buildup | Popping, rumbling | Sediment on heating element |
| High pressure | Loud banging | Pressure exceeding safe limits |
| Valve issues | Whistling, screeching | Restricted water flow |
| Internal sediment | Vibrating, grinding | Mineral deposits shifting |
| Dry heating | Harsh crackling | Running without enough water |
The rule: if noise is persistent, gets louder, or comes with temperature swings or leaks, get it checked. Your safety matters more than saving a service call.
Checklist To Fix Geyser Sound Problems
Not Confident To Repair Your Geyser?
Contact Us For Same Day Doorstep Repair
₹0 Advance Charges
Common Types of Electric Geyser Sounds & Their Exact Causes
Popping or Rumbling Sounds
What’s Happening:
Heavy sediment and limescale accumulate at the tank bottom and coat the heating element. As water heats, steam bubbles get trapped under this hardened crust and burst- creating that popping or rumbling noise.
Why Hard Water Matters:
In hard water areas, mineral deposits build up faster on heating elements. You’ll notice this sound escalating over time if you’re not flushing regularly. The harder your water, the quicker the scale forms- and the louder your geyser gets.
The Fix:
Annual tank flushing removes sediment before it causes damage. Regular descaling of the heating element keeps noise minimal and efficiency high.
Crackling or Hissing Sounds
What’s Happening:
Crackling means moisture is hitting hot heating components or water is dripping onto burning-hot surfaces. Hissing typically signals sediment coating the element, trapping steam underneath.
Why It Matters:
These sounds are common in electric geysers but shouldn’t be ignored. They often indicate your heating element needs cleaning or there’s internal moisture buildup.
The Fix:
Drain and flush your tank regularly. If hissing persists after flushing, the element likely needs professional cleaning or replacement to prevent further damage.
Suggested Read: Geyser Water Pressure Low? Here’s How to Fix It Quickly
Banging or Hammering Sounds
What’s Happening:
This is called “water hammer”- a sudden change in water flow or pressure direction creates shock waves in your pipes. It’s not your tank failing; it’s your plumbing reacting to pressure surges.
Why It Happens:
When valves close suddenly or water flow changes abruptly, pressure builds up and releases with force, causing pipes to bang against walls or fixtures.
The Fix:
Install a water hammer arrestor or pressure-reducing valve to absorb these pressure spikes and protect your plumbing system.
Screeching or Whistling Sounds
What’s Happening:
A high-pitched whistle means water is being forced through a partially restricted valve- inlet, outlet, or pressure relief valve. It’s like air through a narrow opening.
Why It’s Serious:
This sound warns that pressure is building dangerously inside your tank. Ignoring it risks valve failure or tank damage.
The Fix:
Check and fully open all valves immediately. If whistling continues, have the faulty valve replaced by an authorized technician right away.
Ticking or Clicking Sounds
What’s Happening:
Usually harmless. Ticking comes from thermal expansion of pipes as water heats up, or from heat trap nipples doing their job. Sometimes loose pipe straps or fluctuating water pressure causes it.
When to Worry:
If ticking is rhythmic and constant, it might signal pressure changes that need attention.
The Fix:
Tighten loose pipe straps and check pressure settings. Persistent ticking warrants a professional inspection.
Vibrating Sounds
What’s Happening:
As water heats, sediment at the tank bottom shifts and moves around, creating vibration and rumbling. It’s sediment moving, not structural failure.
Why It Matters:
Vibrating indicates buildup that reduces heating efficiency and can damage the heating element over time.
The Fix:
Drain and flush your tank to remove accumulated sediment. This one simple maintenance task stops most vibration problems.
Suggested Reads:
Safety Tips for Using Instant & Storage Geysers At Home
Common geyser problems and their solutions
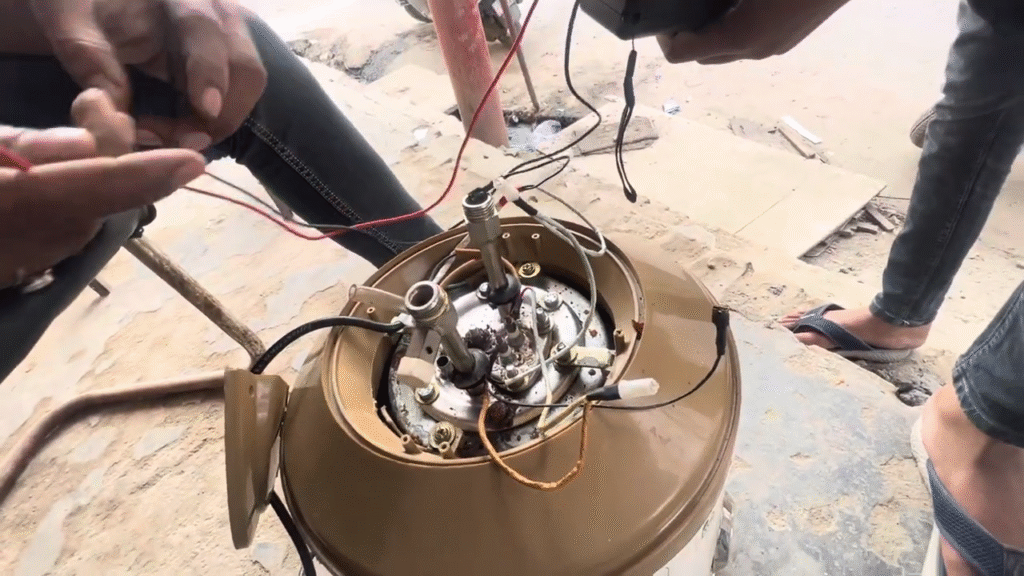
Step-by-Step Troubleshooting: How to Diagnose the Noise Source
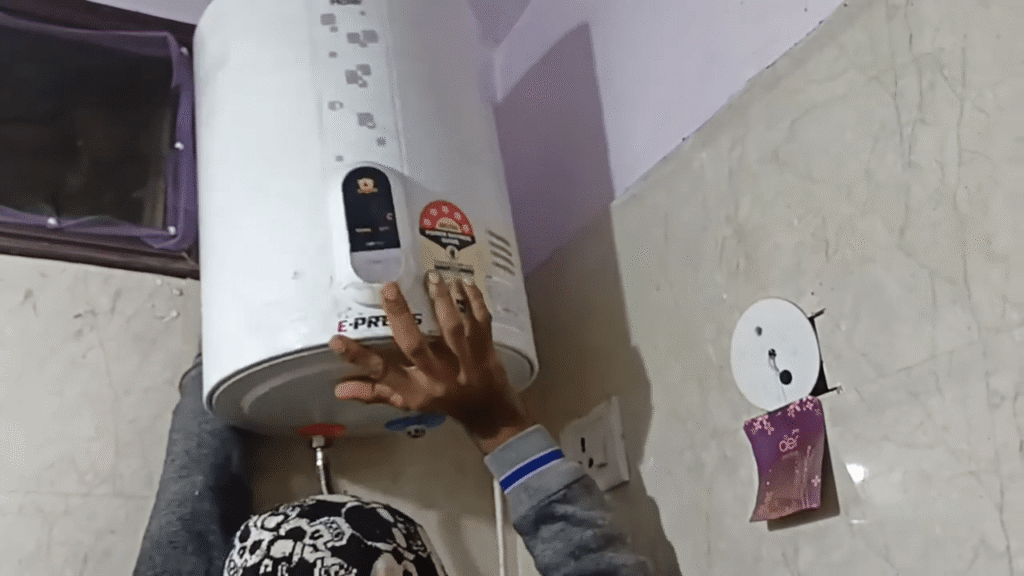
Safety First – What to Do Before Opening Anything
Never skip this step. Always switch off the power supply completely before you touch anything inside your geyser. This isn’t just about convenience- it’s about protecting yourself from electrical shock and burns.
Here’s the critical part: make sure your tank is completely full of water before doing anything. Running your geyser dry, even briefly, can permanently damage the heating element. Check that water flows from the outlet before you proceed with any inspection. These aren’t just suggestions- they’re non-negotiable safety rules that protect both you and your appliance.
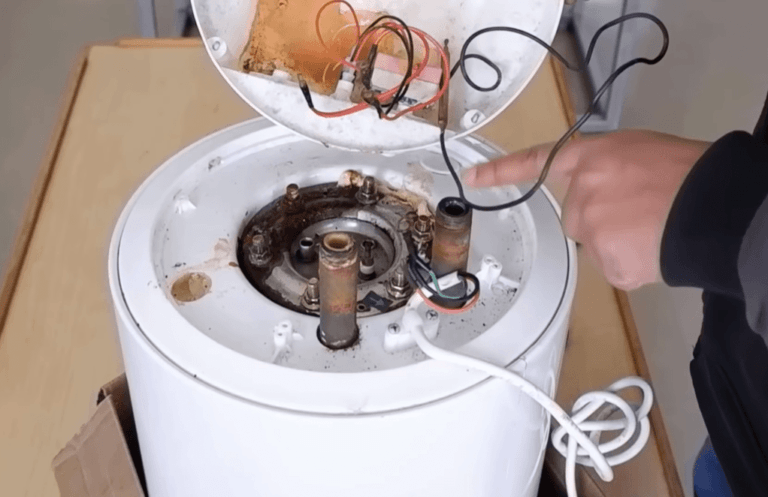
Check for Sediment and Scale Buildup
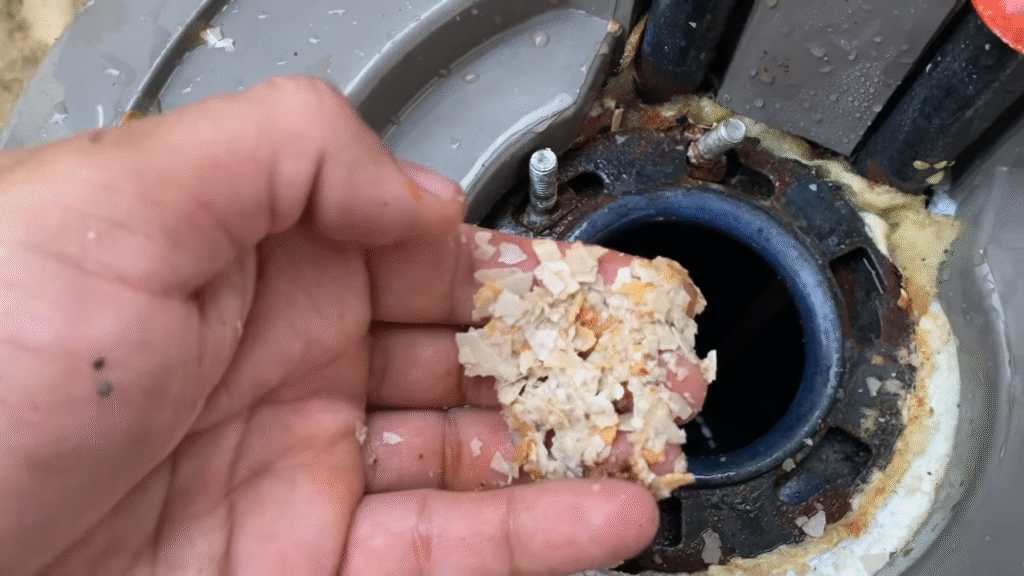
What to Look For:
Sediment buildup shows itself through slower heating times, persistent popping or rumbling noises, and surprisingly high electricity bills. Your geyser is working harder but delivering less- classic sign of internal accumulation.
How to Inspect:
Remove the heating element carefully and examine it closely. Look for thick chalk-like white or brown deposits coating the surface. These mineral layers insulate the element, forcing it to work overtime. The more buildup you see, the more urgently you need geyser tank deep cleaning or replacement.
Inspect the Heating Element
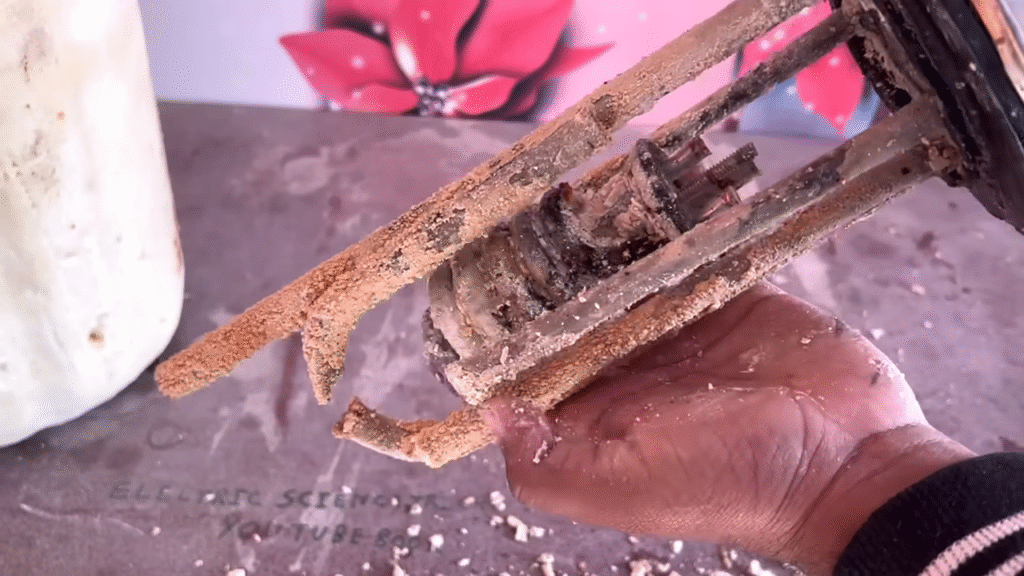
What Tells You It’s Damaged:
Look for three red flags: thick chalk-like deposits covering the surface, rust formation indicating corrosion, or burn marks showing electrical stress.
Why This Matters:
A scaled or damaged element heats inefficiently and creates noise as water struggles to transfer heat. Burn marks mean the element is near failure.
Next Steps:
If deposits are light, professional cleaning might revive it. Heavy scaling or rust typically means replacement is more cost-effective than repair. Don’t delay- a failing element can trip your circuit breaker.
Suggested Reads: How to properly install a geyser?
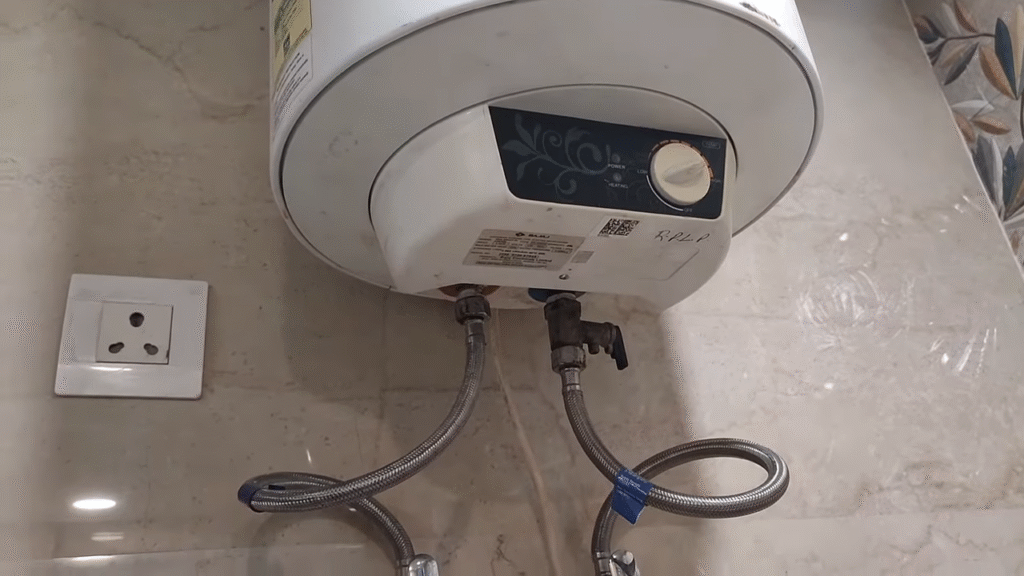
Check Multifunction Safety Valve (MFV)
What MFV Does:
Your MFV has three critical jobs: releases excess pressure, prevents water backflow, and handles expansion as water heats. It’s your tank’s bodyguard.
Warning Signs:
If your MFV drips during heating or makes whistling sounds, pressure inside your geyser is climbing dangerously high. This isn’t a minor annoyance- it’s your safety system warning you.
What to Do:
Don’t ignore dripping or whistling. Have the MFV inspected immediately. A malfunctioning valve compromises your entire safety system and needs professional attention fast.
Suggested Reads: Geyser Water leakage Problem Solution
Inspect Water Inlet/Outlet Valves
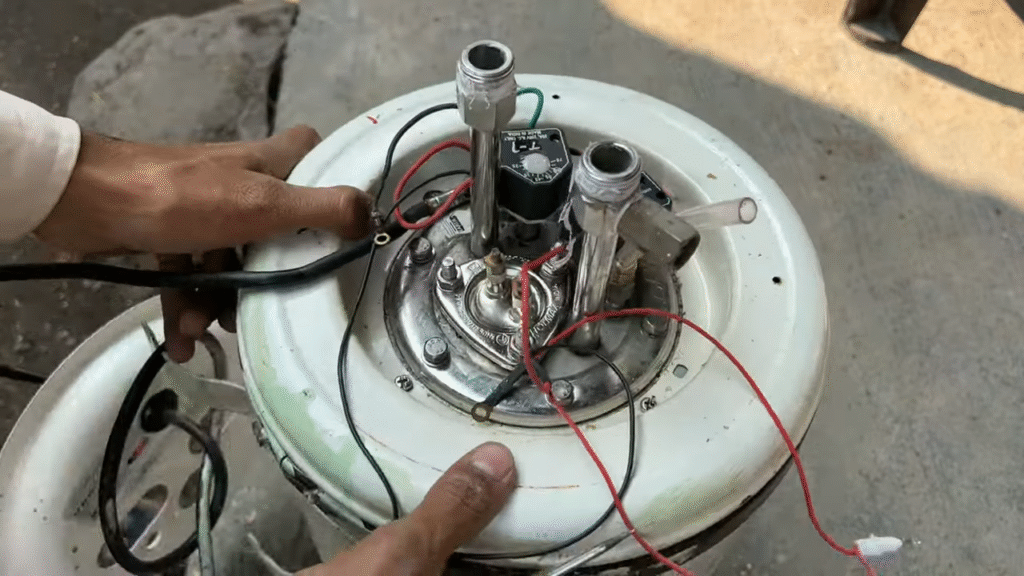
The Screeching Tell-Tale:
That screeching or whistling noise? It’s water being forced through a partially closed or blocked valve. Your inlet or outlet valve isn’t fully open, creating dangerous pressure buildup.
Quick Check:
Locate both valves and ensure they’re completely open. Sometimes valves get accidentally partially closed during installation or maintenance. A simple full opening can solve the problem instantly.
If Problem Persists:
Blockage inside the valve requires professional cleaning. Don’t force valves open with tools- you can damage them. Call a technician to diagnose and fix properly.
Check Mounting and Pipe Supports
Why It Matters:
Loose mounting brackets or unsecured pipes transmit vibration throughout your bathroom. A geyser that’s not firmly attached to the wall will rattle and shake with every heating cycle.
Quick Inspection:
Push gently on your mounted geyser- it shouldn’t move. Check that all bolts are tight and mounting brackets are secure. Look at pipe connections too; loose supports amplify noise significantly.
The Fix:
Tighten all bolts firmly but don’t over-torque. Secure loose pipes with proper straps. This simple fix often eliminates vibration and rattling instantly.
Suggested Reads: Safety Tips to Use Electric Geyser At Home
Proven Solutions for Each Geyser Sound Problem
Fix for Popping or Rumbling (Sediment Buildup)
The Complete Solution:
Start by draining and flushing your entire tank to remove accumulated sediment. This alone stops most popping sounds. Next, remove the heating element and clean away chalk-like mineral deposits- either through professional descaling or element replacement depending on severity.
Long-Term Protection:
Replace your anode rod if it’s worn out. This sacrificial component protects your tank from rust. In hard water areas, consider annual maintenance to prevent rapid reaccumulation. One flush per year saves you from bigger problems later.
Fix for Crackling or Hissing
Address the Root Cause:
Crackling means moisture is contacting hot surfaces. First, drain your tank completely and inspect for internal leaks. Check all internal pipe connections and gaskets carefully.
Cleaning is Key:
Remove and thoroughly clean the heating element to eliminate sediment creating steam pockets. Dry the interior completely before reassembly. Proper drying prevents moisture-related noises from returning quickly after repair.
Fix for Banging or Water Hammer
Install Protection:
A water hammer arrestor absorbs pressure spikes that cause banging. This device acts like a shock absorber for your plumbing system, protecting pipes from sudden pressure surges.
Check Your Valve:
Inspect your pressure-reducing valve to ensure it’s working properly. High inlet water pressure requires a functioning PRV to keep pressure safe. Many installations with high-pressure supplies benefit from PRV installation- check if yours needs one for optimal protection.
Fix for Screeching or Whistling
Act Immediately:
Don’t wait with screeching sounds- they signal real danger. First, locate your inlet and outlet valves and fully open both. Sometimes partial closure during installation causes unnecessary pressure.
Replace Faulty Valves:
If whistling continues after opening valves, your temperature and pressure (T&P) valve or MFV is failing and needs replacement. Don’t attempt DIY replacement; have an authorized technician handle this safety-critical component properly.
Fix for Ticking
Secure Your System:
Tightening loose pipes is often the complete solution. Walk around your installation and tighten all pipe straps and mounting points. Pay special attention to areas where pipes pass through walls or fixtures.
Address Pressure Fluctuations:
If ticking persists after securing pipes, install a pressure-reducing valve to stabilize water pressure. Fluctuating pressure causes thermal expansion and contraction- a PRV smooths this out, eliminating ticking instantly.
Fix for Vibrating
Start with Flushing:
Heavy sediment shifting during heating creates vibration. Drain your tank completely and flush thoroughly to remove all accumulated deposits. This single step resolves most vibration problems.
Check Element Seating:
After flushing, inspect whether the heating element sits properly in its mounting. Loose or improperly seated elements vibrate against the tank wall. Ensure it’s firmly positioned and all connections are tight before reassembling.
Preventive Maintenance Tips to Avoid Future Geyser Noise

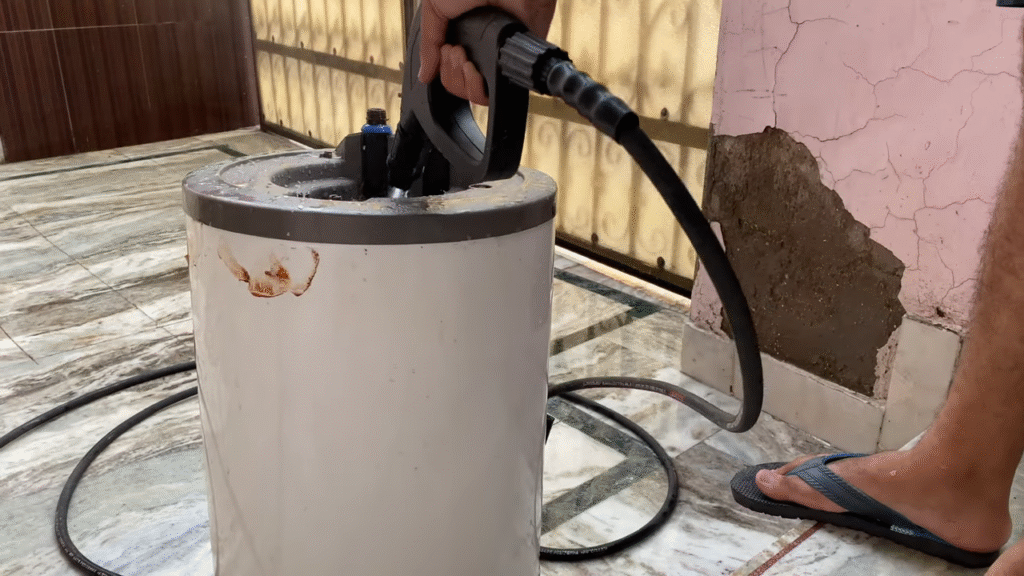
Annual Descaling and Tank Flushing
Think of descaling like brushing your teeth- it’s preventive care that stops bigger problems before they start. Flushing your tank once a year removes sediment buildup, mineral deposits, and the gunk that creates those annoying popping and rumbling sounds.
In hard water areas, consider flushing twice yearly to stay ahead of scale formation.
Replace Anode Rod Every 1–2 Years
Your anode rod is a sacrificial hero- it corrodes so your tank doesn’t have to. Depending on your water hardness, this protective component wears out faster or slower, but checking it annually keeps you informed.
Once it’s consumed over 60%, replace it immediately to maintain full tank protection and prevent rust-related noises and leaks.
Check MFV Every 2 Months
Your Multifunction Safety Valve is working hard behind the scenes, so give it regular attention. Open and close the test lever every two months to ensure it’s not blocked by mineral deposits or salt buildup. This simple two-minute check prevents valve failure and the dangerous pressure buildup that creates screeching sounds.
Ensure Proper Pressure Settings
High water pressure accelerates noise problems and stresses your entire system. Check that inlet pressure stays within safe limits- your manual specifies the maximum for your model.
If pressure regularly exceeds recommended levels, install or adjust your pressure-reducing valve to keep everything running smoothly and quietly.
Maintain Correct Installation Clearances
Your geyser needs breathing room to perform properly and stay safe. Follow your manual’s clearance requirements: typically 6 inches from walls, 50 centimeters from sides, and minimum 1.8 meters from the ground.
Proper spacing prevents moisture accumulation, allows for servicing, and reduces vibration noise transmission to surrounding walls and fixtures.
Conclusion
Most geyser noises sound scarier than they actually are – and the good news is that almost all of them can be fixed with simple maintenance or a quick service visit. Timely servicing not only stops the noise but also saves energy, lowers repair costs, and protects your geyser from long-term damage. If your geyser is making unusual sounds, book a professional inspection with Concord Services for safe, reliable help.