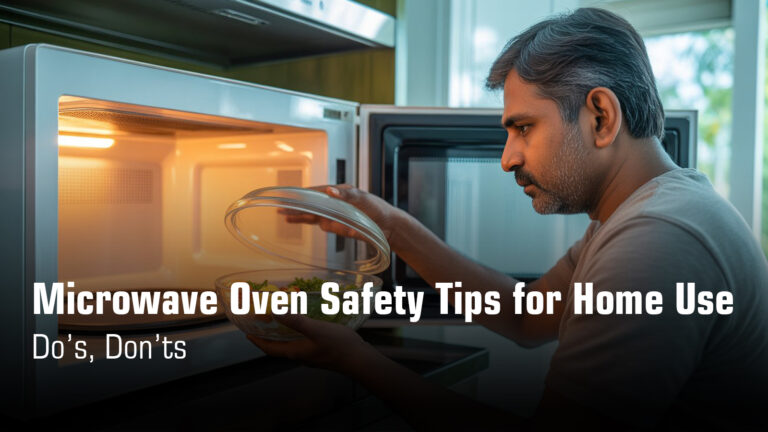
Microwave Dos and Don’ts: Utensils, Defrosting & More
Using a microwave? Learn safe utensils, foods to avoid, correct heating, defrosting tips, and common mistakes that cause sparks, no heating, or damage.

You’ve probably noticed how quickly a microwave can go from perfect to problematic. One day it’s heating your food just fine, and the next, it’s sparking, making odd noises, or filling your kitchen with a burning smell.
Here’s the thing: most microwave problems like sparking, uneven heating, condensation, or that unsettling burnt odor aren’t random. They happen because of wrong cookware choices, incorrect settings, or poor food handling. And microwaves are surprisingly sensitive appliances. They come with safety interlocks, sensors, and high-voltage components that demand careful use.
This guide helps you avoid the common mistakes that damage your microwave and ruin your cooking results. Whether you own a solo, grill, or convection model, these tips apply across all brands and types. Let’s make sure your microwave stays safe, efficient, and ready when you need it.
Quick Safety Checklist For Cooking Using Microwave Oven
Need Urgent Microwave Repair?
We Offer Same-Day Service in Kolkata
₹0 Advance Charges
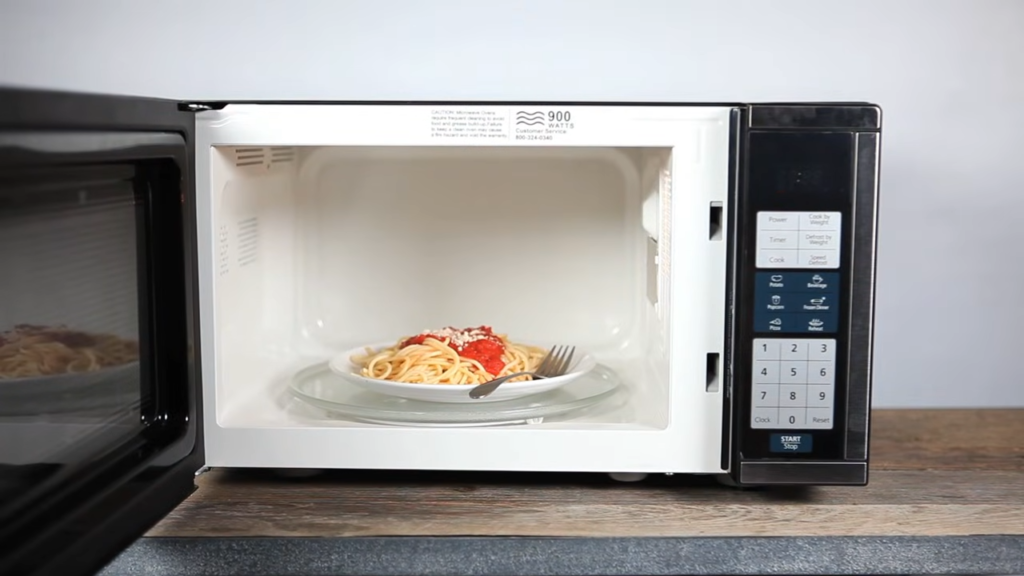
Choosing the Right Utensils for Microwave Cooking
Microwave-Safe Utensils (What to Use)
The right cookware makes all the difference between a perfectly heated meal and a microwave emergency. Microwave-safe utensils allow microwave energy to pass through them directly to your food, without absorbing heat themselves or creating dangerous sparks.
Heat-resistant glass bowls are your safest bet. They’re transparent to microwaves, meaning the energy goes straight through to heat your food evenly. These bowls can handle high temperatures without cracking or breaking.
Microwave-safe plastic containers work well, but only if they’re clearly labeled as microwave-safe. Some plastic containers soften or warp when the food inside gets hot, so always check the manufacturer’s instructions before use.
Ceramic dishes without metallic paint or trim are excellent choices. Make sure there’s no gold, silver, or decorative metal anywhere on the dish. Even a tiny metallic design can cause sparking.
Microwave-safe paper plates are convenient for short heating sessions only. Use them for reheating food quickly, but never leave the oven unattended while using paper products.
Parchment paper and microwave covers help prevent splattering and retain moisture during cooking. They’re perfectly safe and make cleanup easier.
Here’s a quick reference table:
| Utensil Type | Safe? | Why? |
|---|---|---|
| Heat-resistant glass | Yes | Transparent to microwaves, withstands high heat |
| Microwave-safe plastic (labeled) | Yes | Allows microwaves to pass through, but must be marked safe |
| Ceramic (no metal trim) | Yes | Microwave-transparent and heat-tolerant |
| Paper plates | Yes (short use) | Safe for quick reheating only |
| Parchment paper | Yes | Prevents splattering, retains moisture |
Utensils You Must Never Use in a Microwave
This is where things get serious. Using the wrong utensils doesn’t just ruin your meal. It can damage your microwave permanently or even start a fire.
Metal bowls, plates, or trays are strictly forbidden. Metal reflects microwaves instead of letting them pass through, which concentrates electrical energy and causes arcing (those alarming lightning-like flashes inside your oven).
Utensils with gold or silver trim are just as dangerous. Even if the dish itself is glass or ceramic, that decorative metallic border acts like an antenna for the 2450 MHz microwave frequency, creating intense sparks.
Aluminium foil should never be used except in tiny, smooth pieces for shielding thin parts of meat. Even then, keep it at least 2.5 cm away from the oven walls. Large pieces of foil will cause immediate sparking.
Steel lunch boxes and food cartons with metal handles must be transferred to microwave-safe dishes before heating.
Paper bags and newspapers can catch fire in the microwave. They’re not designed to handle the heat and may contain metal fragments that spark.
Plastic containers without microwave-safe marking may melt, warp, or release harmful chemicals when heated. Styrofoam and thermocol containers fall into this category. They melt when exposed to high temperatures and can contaminate your food.
Wooden bowls will dry out, split, and crack when used in the microwave. In some cases, they can even catch fire.
Critical risks you’re facing:
If you’ve experienced sparking or noticed burn marks inside your microwave, the damage may already be done. Understanding what caused it is the first step to preventing costly repairs.
Related reading: Microwave Sparking Problem – Causes & Fixes
Heating Food in a Microwave: Do It the Right Way
Correct Way to Heat Cooked Food
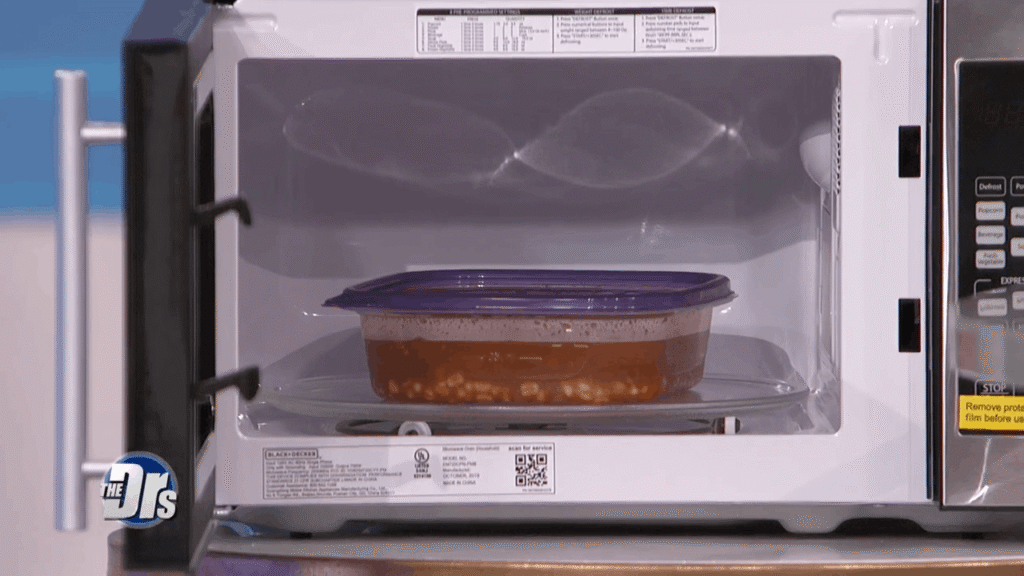
Use medium or medium-high power instead of blasting everything at full power. Spread food evenly in a shallow layer rather than piling it high. Cover with a vented microwave-safe lid to trap steam. Stir or rotate the dish halfway through heating. Let it stand for 30 to 60 seconds after the timer stops.
That standing time isn’t optional. It’s when heat spreads from the hot edges to the cooler center, finishing the job the microwave started. Internal temperatures can rise by 5 to 15 degrees during those crucial seconds, turning unevenly warmed food into perfectly heated meals.
Common Heating Mistakes That Cause Problems
Using full power for everything is the biggest mistake. High power creates hot edges and cold centers, especially in dense foods like rice and curries.
Overheating dry food turns bread rubbery and rice rock-hard. These foods need gentle, lower power settings.
Heating sealed containers is dangerous. Steam builds up with no escape route, and the container can explode in your hands.
Ignoring turntable issues means certain spots never get exposed to microwave energy. If your turntable isn’t spinning freely, your food won’t heat evenly no matter what else you do right.
These small mistakes add up. They cause cold centers, create burning smells from overheated edges, and can even damage your microwave’s internal components over time.
Related reading:
Microwave Oven Heats Unevenly: Causes & Solutions
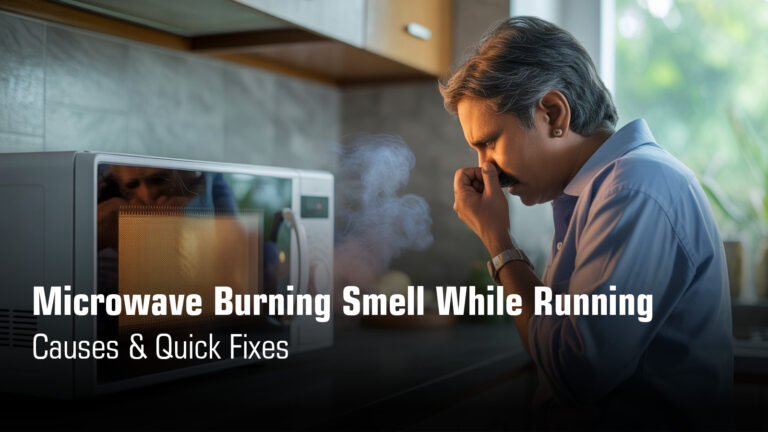
Microwave Burning Smell While Running
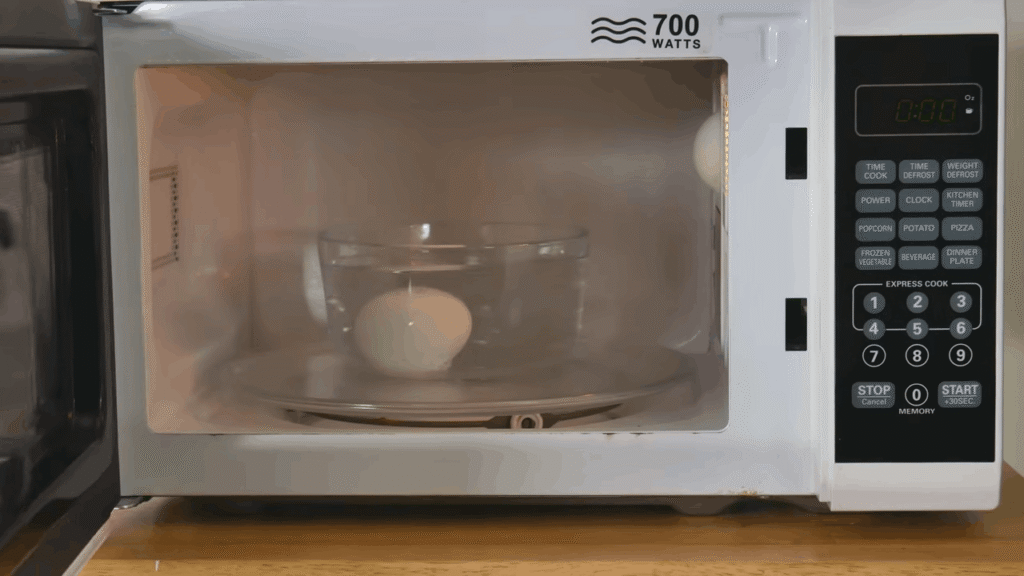
Heating Frozen Food Safely in a Microwave
Before Heating Frozen Food
Remove all metal packaging. Loosen tightly packed items. Transfer to a microwave-safe container. Cover loosely, never seal it tight. Airtight containers trap steam and can explode.
Best Practices While Heating Frozen Food
Use the defrost setting first, not full power. Pause midway to stir or turn. Heat in short bursts. Check the center temperature.
Frozen food releases huge amounts of steam as ice melts. That steam hits the cooler walls and door, creating condensation. You’ll see fogging on the glass and wet surfaces inside. Over time, this moisture causes rust, damages door seals, and can even lead to electrical problems. Proper defrosting reduces this steam buildup and protects your microwave.
Related reading: Microwave Oven Condensation Problem
Need professional help? Concord Services restores your microwave’s safety and performance with trusted repair service in Kolkata.
Defrosting Food in a Microwave (Most Misused Function)
How Microwave Defrosting Actually Works?
Defrost mode uses low power cycling. Short bursts of energy, with pauses in between. Your microwave offers time-based or weight-based defrost. Enter the food type and weight, and it calculates the timing. But you still need to turn the food when it beeps. Without that manual step, parts cook while others stay frozen.
Correct Defrosting Steps
Select DEFROST mode, not regular power. Separate stuck-together pieces first. Turn food when prompted. Cook immediately after defrosting. Partially thawed food sitting at room temperature breeds bacteria fast.
Defrosting Mistakes to Avoid
Never use HIGH power. It cooks the edges while the center stays rock solid, making food tough and inedible. Don’t leave food unattended. You’ll miss turn prompts and get uneven results. Never defrost in sealed containers. Trapped steam creates pressure that can burst the container or cook food unevenly.
Related reading: Microwave Not Heating Food: Causes & Fixes
Power Levels Explained (Why “High” Is Not Always Right)
Most people blast everything on high power and wonder why their food comes out wrong. Your microwave has different power levels because different foods need different approaches. High runs at 100%, medium cycles between 50-70%, and low stays around 30%.
When to Use Each Power Level:
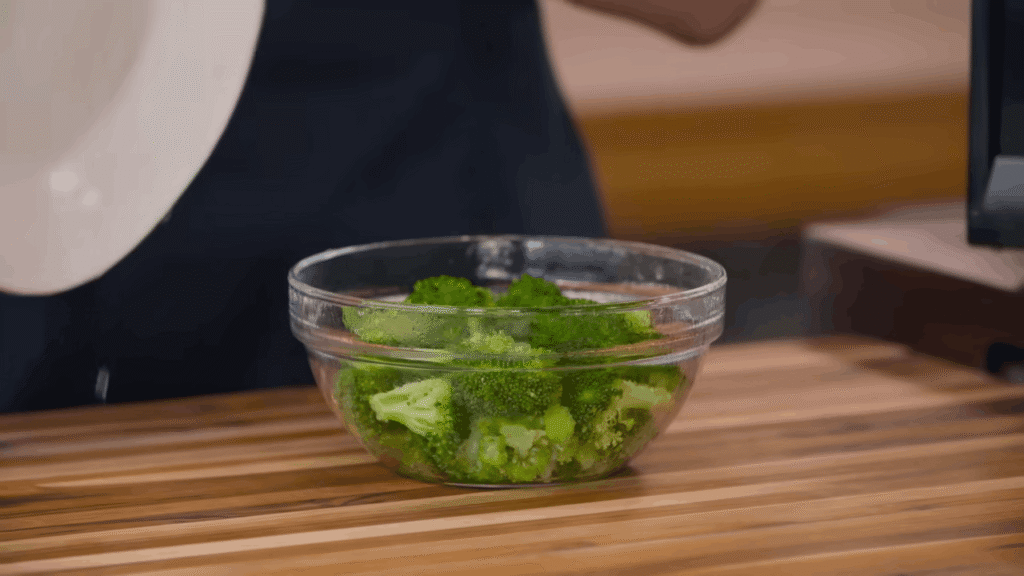
- High (100%) – Water, soups, beverages, and vegetables that need fast heating.
- Medium (50-70%) – Reheating rice, curries, casseroles, and full meals.
- Low (30%) – Defrosting frozen food and softening butter.
Why Wrong Power Ruins Your Food:
High power overcooks the outside while the center stays cold. Microwaves only penetrate about one inch deep, so dense foods need time for heat to travel inward. Blasting everything on high also creates excessive steam, leading to condensation that damages your microwave’s interior over time.
Quick Reference Table:
| Power Level | Best For | Why |
|---|---|---|
| High (100%) | Liquids, soups, vegetables | Fast heating for watery foods |
| Medium-High (70-80%) | Rice, chicken, fish | Reaches deeper without burning |
| Medium (50-60%) | Reheating meals, stews | Prevents cold centers |
| Medium-Low (30-40%) | Defrosting | Gentle thawing, no cooking |
| Low (10-20%) | Softening ice cream | Minimal heat for delicate tasks |
Steam, Moisture & Condensation: What’s Normal vs What’s Not

Normal Condensation Scenarios
Some moisture is perfectly fine. When you heat curries, soups, or any moist food, steam hits the cooler walls and turns into droplets. Frozen food releases even more moisture as ice melts into vapor.
Long heating cycles naturally create more condensation. If you’re reheating a big casserole or defrosting a meal, expect some fogging on the door. That’s normal.
What Users Should Do
Wipe the interior walls with a dry cloth after every use. Takes thirty seconds and stops rust before it starts. Leave the door slightly open for five minutes so leftover steam can escape.
Use vented covers when heating food. They keep moisture in your meal while letting excess steam out. Never seal containers tightly because that traps all the steam inside and makes condensation worse.
When Condensation Indicates a Problem
Water stuck between the door glass panes for more than a day or two means the seal is failing. Excessive dripping or pooling after normal use points to ventilation problems. These issues can cause electrical shorts and rust.
Notice a musty smell or rust forming around vents and hinges? That’s persistent moisture already damaging components. Time to call a technician before it spreads to the electronics.
Call for Service When You See:
- Water trapped between door glass that won’t clear
- Excessive dripping or pooling after regular cooking
- Musty or moldy smell
- Visible rust or corrosion
- Loose or damaged door seal
Quick Microwave Safety Rules Most Users Ignore
These aren’t suggestions. They’re safety rules that prevent fires, injuries, and expensive damage.
Never operate the microwave empty.
Running it without food inside damages the magnetron, the most expensive component to replace, because microwave energy has nowhere to go except back into itself.
Never bypass door interlocks.
Those safety switches exist to protect you from harmful microwave radiation exposure, and tampering with them is illegal in many places for good reason.
Never heat sealed containers.
Steam builds up with no escape route, and the container can explode in your hands or inside the oven, causing serious burns.
Never dry clothes or towels.
Microwaves are designed to heat food and beverages only; fabrics can ignite, overheat, or catch fire because they don’t contain the moisture needed for safe microwave heating.
Always keep vents clear.
Blocked ventilation causes the microwave to overheat, trips thermal switches, and can lead to component failure or even fire risk.
Do not use damaged doors or seals.
Bent doors, broken latches, or worn seals allow microwave radiation to leak out, which is a serious health hazard and means the oven should not be operated until repaired.
Critical Safety Checklist:
- Empty operation (damages magnetron)
- Bypassing door safety locks (radiation exposure)
- Sealed containers (explosion risk)
- Drying clothes, towels, or fabric (fire hazard)
- Blocked vents (overheating and failure)
- Damaged door or broken seals (radiation leakage)
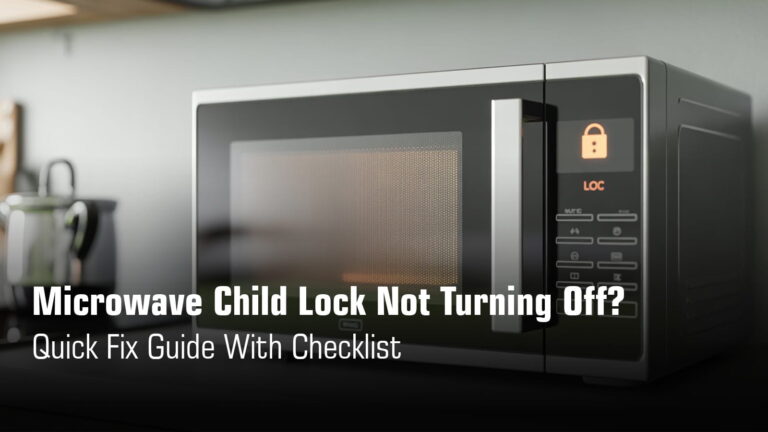
If your door won’t open or close properly, or if the child lock is stuck and won’t turn off, don’t force it or try workarounds. Get it checked by a professional.
Closing Thoughts
Let’s be honest. Most microwave problems aren’t factory defects or bad luck. They’re the result of wrong utensils, incorrect power settings, and poor food handling habits. The good news? You now know exactly how to avoid those mistakes.
Use the right containers. Choose proper power levels. Handle food correctly. These small changes extend your microwave’s life by years and save you from unnecessary repair bills.
If problems persist despite doing everything right, that’s when you call a professional. But bookmark this guide first. You’ll be surprised how many issues you can prevent just by coming back to it.