How to Clean Your Microwave Oven Safely | Step-by-Step
Simple and safe microwave cleaning tips using home methods. Remove bad smells, food splatter, and grease without harming the appliance.

That burning smell from your microwave isn’t just annoying. It’s a warning.
Food splatter, grease, and steam don’t vanish when you close the door. They bake onto surfaces, trap odors, and carbonize. Over time, this buildup weakens heating performance, creates sparks, and strains electrical parts. You’ve probably noticed uneven heating or strange sounds. Those issues are often tied to poor cleaning.
Left unchecked, buildup can trigger condensation problems, burning smells, and even shorten your appliance’s life. The good news? Most of this is preventable.
This guide walks you through safe, brand-approved cleaning methods you can do at home to keep your microwave fresh and working like it should.
Quick Checklist to Fix Microwave Oven NOT Turning On Problem
Need Instant Microwave Repair?
We’re Just a Call Away in Kolkata
₹0 Advance Charges
Safety Rules You Must Follow Before Cleaning a Microwave
Always Disconnect Power
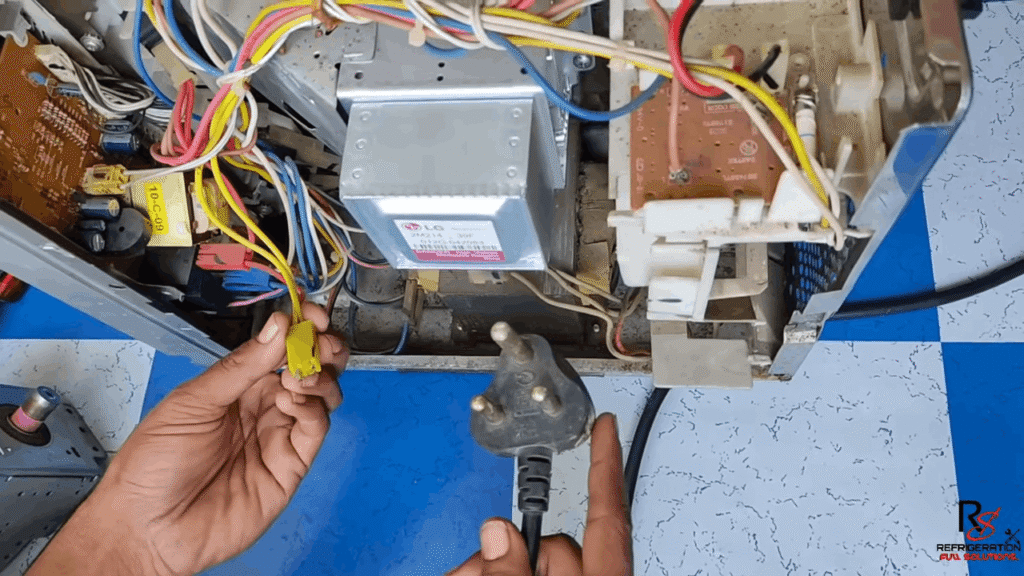
Always unplug your microwave before cleaning. Even when it looks off, electrical components inside remain live and can cause serious electric shock. Water or cleaning solutions near the control panel can damage circuits or create shorts. Disconnecting power protects you from injury and prevents electrical damage. Make sure the plug is easily accessible for quick disconnection in emergencies.
Never Use These Cleaning Methods
Some cleaning methods damage your microwave or put you at risk:
Use instead: Mild soap, soft cloths, vinegar, lemon juice, or baking soda.
| Never Use | Why It’s Dangerous |
|---|---|
| Steam cleaners | Water seeps into vents and damages internal electrical parts |
| Metal scrubbers or sharp scrapers | Scratch interior surfaces, exposing bare metal that can spark |
| Harsh oven cleaners, acids, or bleach | Corrode surfaces and release toxic fumes |
| Excessive water near vents or control panel | Causes electrical faults and component failure |
Why Microwave Doors and Seals Need Special Care?
Your microwave door and seals keep radiation safely inside the cavity. If the door or seals are damaged, the oven must not be operated until repaired by a competent person. Food residue or grease on seals prevents proper door closure, creating gaps that cause radiation leakage and door faults.
Clean door frames, seals, and adjacent parts frequently with a damp cloth. Never use abrasive cleaners that wear down seal surfaces.
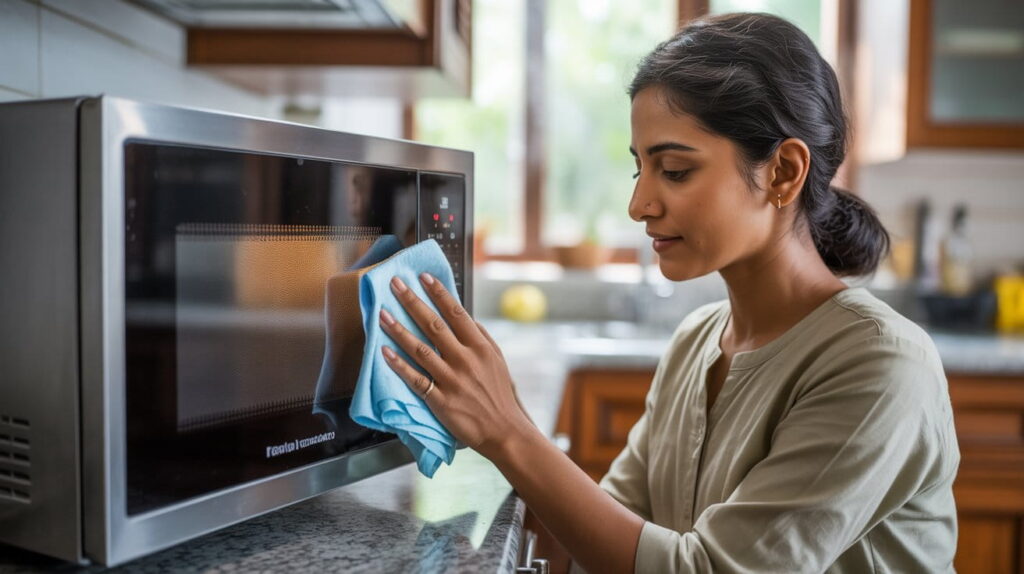
Best Way to Clean Microwave Interior (Step-by-Step)
Steam Cleaning Method (Safest & Most Effective)
What you need:
- 1 cup (250 mL) of water
- Optional: 1 tablespoon of lemon juice or vinegar
How it works:
Wiping the Microwave Cavity Properly
After steam-cleaning, use a soft cloth or sponge dampened with clean water to wipe the walls, ceiling, and base thoroughly. For average soil, mild soap and water are enough.
For heavy buildup, use mild, nonabrasive detergent. Rinse with clean water and dry with a soft, lint-free cloth. Keep the area where the door and frame meet especially clean to ensure a tight seal.
Cleaning the Waveguide Cover (If Visible)
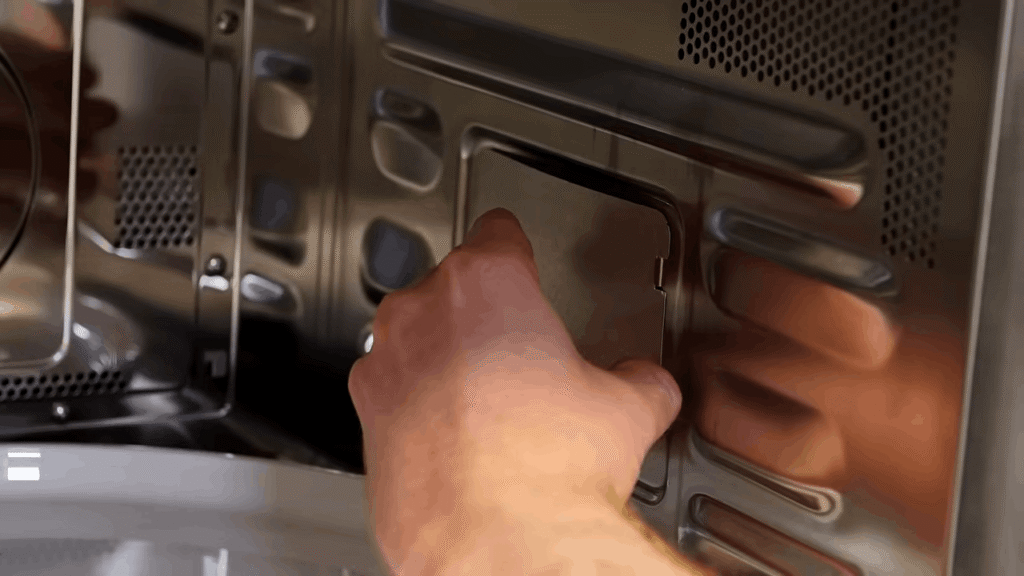
The waveguide cover is a small panel (usually mica sheet) on the interior wall that protects the opening where microwave energy enters.
When food splashes or grease stick to it, the residue carbonizes and conducts electricity, causing dangerous sparking.
Gently wipe this area with a damp cloth and mild soap to remove grease and splatters. Never remove the cover yourself or use abrasive cleaners on it. Clean it regularly to prevent buildup.
Need professional cleaning? Hire Concord Services‘ experts for thorough microwave oven cleaning and inspection to ensure peak performance.
How to Clean the Microwave Turntable & Roller Ring?
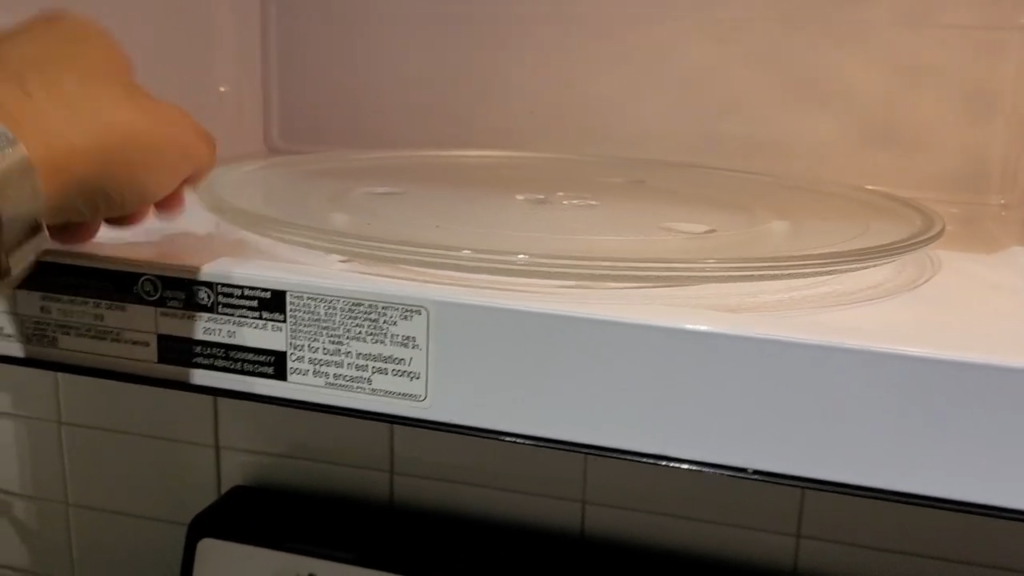
Remove glass tray and ring:
Lift the glass tray off the turntable shaft and remove the roller ring assembly from the cavity floor for thorough cleaning.
Wash with warm soapy water:
Wash both the glass tray and roller ring in warm sudsy water or place them in the dishwasher for easy cleaning.
Why roller rings cause noise if not cleaned:
The roller ring and oven floor should be cleaned regularly to avoid excessive noise caused by food debris and grease buildup that creates friction during rotation.
Ensure proper drying before reinstallation:
Dry both parts completely before placing them back in the microwave. When removing the roller ring from the cavity floor for cleaning, be sure to replace it in the proper position on the turntable shaft.
Related guide: If your turntable isn’t spinning after cleaning, check out our detailed troubleshooting guide: Microwave Plate Not Spinning – Causes & Easy Fixes
Cleaning Microwave Door Glass & Door Seals Safely
Inner & Outer Door Glass
Keep the inside glass of the door clean by wiping regularly with a soft, damp cloth. Apply glass cleaner or small amounts of mild cleaner to the cloth first, not directly onto the door. Do not use harsh detergents or abrasive materials. Avoid putting pressure on the glass edges, as scratched glass can develop into cracks over time.
Door Seals & Frame
Pay special attention to cleaning the door seals and door seal areas. Use a damp cloth to wipe crumbs and grease from the area where the door and frame meet. It’s important to keep this area clean to ensure a tight seal.
Why grease buildup here causes problems:
Door not closing properly:
Food residue and grease on seals prevent the door from sealing tightly, creating gaps.
Microwave not starting:
Safety interlock systems won’t engage if the door doesn’t close completely, stopping the microwave from operating.
Use only gentle wiping with warm, soapy water. Rinse and dry thoroughly. Never attempt to dismantle the microwave door at home.
Door repairs involve safety interlocks and radiation seals that require professional expertise.
Related guide: Having trouble with your microwave door? Check our detailed troubleshooting resource: Microwave Oven Door Not Opening or Closing Problem
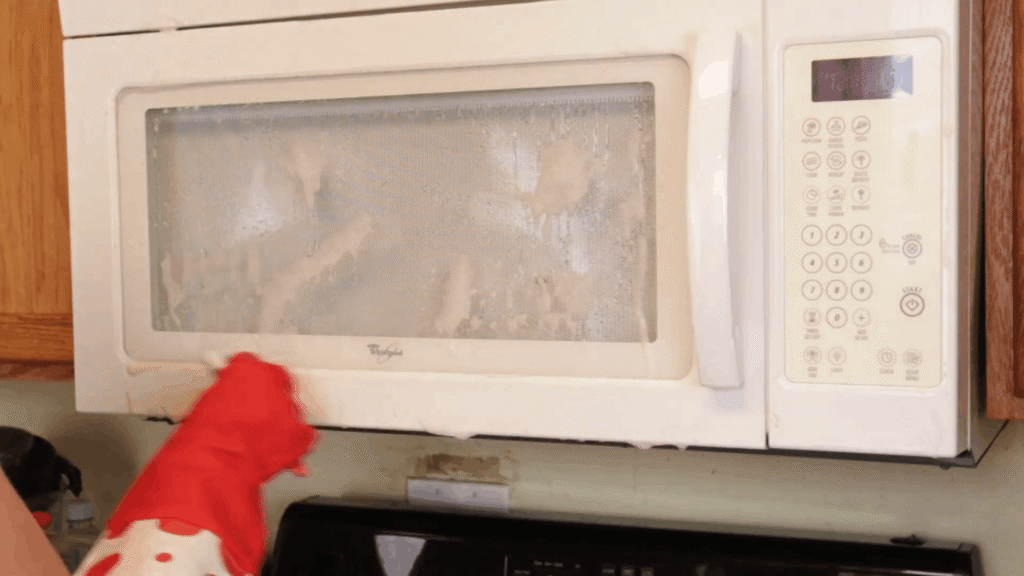
Removing Bad Smell from a Microwave Oven
Causes of burning or fishy smell:
Burnt or fishy smells come from leftover food particles or splatter stuck on the cavity walls, ceiling, or hidden areas that keep reheating and releasing odor. Because microwaves are well sealed when the door is shut, smells from strong foods like fish can linger for days if not cleaned properly.
Steam + lemon / vinegar method:
Mix 1 cup of water with 1 tablespoon of lemon juice or vinegar in a microwave-safe bowl, then heat for 2 to 5 minutes until it boils and produces steam. Leave the bowl inside for 15 to 20 minutes to let the steam loosen grime and neutralize odors, then wipe the interior thoroughly with a soft cloth.
Baking soda absorption method (overnight):
If any smell lingers after cleaning, place 1 to 2 cups of dry baking soda in a bowl inside the microwave with the door closed overnight. The baking soda will absorb remaining odors naturally without any scrubbing.
When smell indicates a deeper electrical issue:
If the burning smell persists after thorough cleaning, stops the microwave from heating properly, or gets stronger over time, it may signal a failing magnetron, burnt wiring, or other internal electrical components. Unplug the microwave immediately and contact a professional technician, as continued use can be unsafe and create fire hazards.
Need more help? If your microwave has a persistent burning smell that won’t go away, check our detailed troubleshooting guide: Microwave Burning Smell While Running
How Often Should You Clean Your Microwave?
Regular cleaning keeps your microwave working properly and prevents common problems. Here’s a simple schedule:
Cleaning Schedule:
| Frequency | What to Clean |
|---|---|
| After every use | Quick wipe of interior with damp cloth |
| Weekly | Deep steam clean with water and vinegar/lemon |
| Monthly | Full cleaning including tray, roller ring, seals, and vents |
How regular cleaning reduces problems:
Wiping down the interior after every use stops food buildup before it becomes a problem.
Weekly steam cleaning prevents grease from carbonizing on surfaces, which causes sparking and absorbs microwave energy instead of heating your food.
Monthly deep cleaning of seals and vents eliminates moisture buildup that leads to condensation, keeps door seals tight, and ensures proper ventilation for consistent heating performance.
Dealing with moisture issues? Check our comprehensive guide: Microwave Oven Condensation Problem
Common Cleaning Mistakes That Damage Microwaves
Using metal scrubbers:
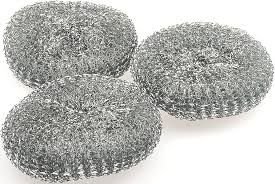
Steel-wool pads and abrasive scrubbers scratch the interior paint, exposing bare metal. This exposed metal sparks during operation and can permanently damage your microwave.
Letting water enter vents:
Water seeping into ventilation openings damages internal electronic parts. This moisture causes short circuits, rust, and expensive electrical failures.
Scratching cavity paint:
Chipped enamel creates discharge points where electrical energy concentrates. You’ll see sparking, hear loud popping, and face serious safety hazards.
Ignoring ceiling splatter:
Grease buildup on the ceiling carbonizes and conducts electricity. This causes dangerous sparking and poor heating performance.
Cleaning control panel with excess moisture:
Wet control panels let water seep behind the touchpad membrane. Buttons stop responding, and you end up needing costly board replacements.
Real repair cases these mistakes cause:
| Cleaning Mistake | Resulting Repair Issue |
|---|---|
| Metal scrubbers on cavity | Sparking from chipped paint and exposed metal |
| Water in vents | Electrical shorts and component failure |
| Scratched interior paint | Dangerous arcing and discharge points |
| Ignored ceiling buildup | Sparking and uneven heating |
| Wet control panel | Non-responsive buttons needing board replacement |
Final Thoughts
A clean microwave isn’t just about hygiene. It’s about avoiding expensive repairs down the road. Five minutes of regular wiping saves you from sparking, burning smells, and heating failures that cost hundreds to fix. Stick to soft cloths, gentle cleaners, and steam methods.
Never dismantle your microwave yourself. If problems persist after proper cleaning, reach out to a professional technician who can safely diagnose and repair the issue.