Geyser Maintenance Tips – DIY Checklist For Longevity
Keep your geyser working safely all year. ✓ Simple care tips, ✓ cleaning steps, ✓ safety checks. Fix leaks, smell, noise & heating issues at home.

Why Regular Geyser Maintenance Matters?
Let’s be honest. Most of us ignore our water heaters until they stop heating, start leaking, or the water smells weird. Here’s the thing: simple maintenance prevents 80% of common problems like leakage, low pressure, strange noises, and MCB tripping.
Your geyser comes built with safety features like thermostat, thermal cut-out, MFV, and ELCB to protect you. A little care keeps them working perfectly for years.
Quick DIY Checklist To Maintain Your Geyser
Not Confident To Repair Your Geyser?
Contact Us For Same Day Doorstep Repair
₹0 Advance Charges
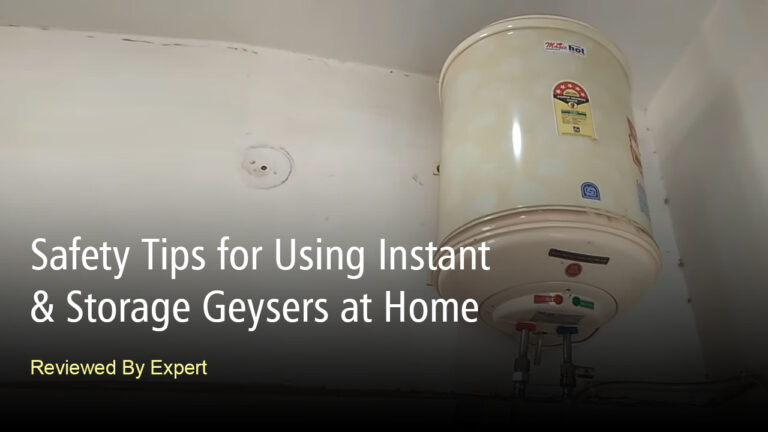
Essential Safety Precautions Before Any Maintenance
Before you touch anything, let’s talk about safety. These steps aren’t optional if you want to avoid serious accidents.
Turn Off Power & Water
Always switch off the MCB and unplug your geyser before opening it. Every single manual from AO Smith to Havells stresses this point because working on a live geyser can cause electric shock or worse. Close the inlet water valve too so you don’t flood your bathroom mid-repair.
Wait for Water to Cool
Give your geyser at least an hour to cool down after switching it off. Hot water inside can cause serious burns when you’re draining or cleaning the tank. You’ve probably noticed how scalding the water gets, so don’t rush this step.
Ensure Proper Earthing
Faulty earthing is one of the biggest reasons people get shocked by their geysers. If the heating element or insulation is damaged, current can pass into the water itself. Check that your geyser’s earthing wire is properly connected and the ELCB (if installed) is working before you start any maintenance.
Don’t Operate Geyser Without Water
Never switch on your geyser when the tank is empty. Dry heating will burn out the heating element in minutes and void your warranty completely. AO Smith, Havells, Symphony, and Bajaj all warn about this in their manuals because it’s one of the most common mistakes people make.
Routine Geyser Maintenance Tasks (Step-by-Step)
Here’s where the real work happens. These simple tasks will keep your geyser running smoothly and save you from expensive repairs down the line.
Check the Multi-Function Safety Valve (MFV / MFSV)

Your MFV does four jobs at once: it prevents dangerous pressure buildup, stops water from flowing back, handles thermal expansion, and lets you drain the tank. Lift the drain lever once a month to clear out salt and debris. If you see water dripping during heating, don’t panic. That’s normal thermal expansion, not a leak. Just never block or remove this valve, or you’ll void your warranty and risk serious damage.
Key maintenance tips:
Clean or Replace the Anode Rod
Think of the anode rod as your tank’s bodyguard. It sacrifices itself to protect your geyser from rust and corrosion. Check it every year, and if it’s worn down by 60% or more, replace it immediately. A damaged anode is why you get rusty brown water, that rotten egg smell, or worse, a leaking tank that can’t be repaired.
Warning signs you need a new anode:
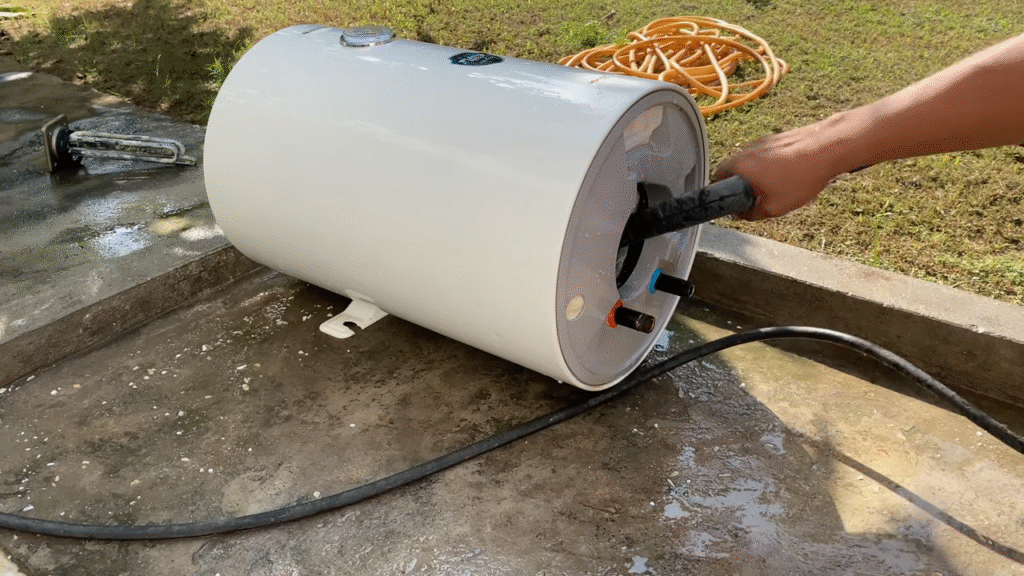
Flush the Geyser Tank (Every 6–12 Months)
This is the single most important maintenance task. Sediment, scale, and mineral deposits settle at the bottom of your tank over time, causing all kinds of problems.
Step-by-step flushing process:
- Switch off power at MCB and close inlet valve
- Open hot water tap to release pressure inside the tank
- Connect a hose to drain valve (or remove drain nut if accessible)
- Lift MFV drain lever to allow air in and speed up draining
- Let all water drain out until you see sediment clearing
- Flush with fresh water 2-3 times until water runs completely clear
- Close drain valve, refill tank, restore power
Why this matters so much: Scale buildup is the reason your geyser makes popping noises, heats water slowly, produces smelly water, and gives you low pressure. Flush it twice a year if you have hard water, once a year minimum for everyone else.
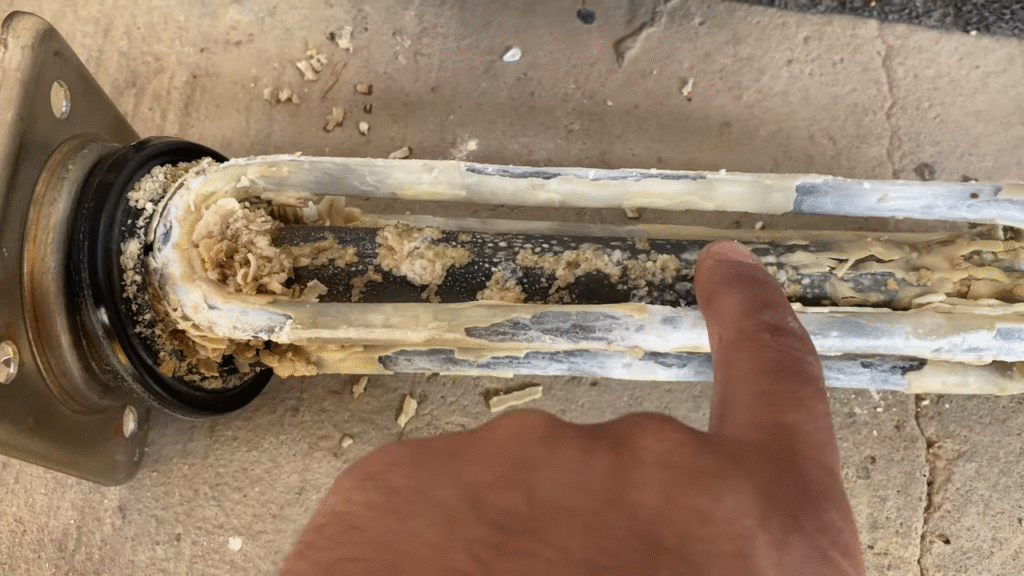
Descale the Heating Element

That white crusty layer on your heating element is killing your geyser’s efficiency. When scale covers the element, it takes longer to heat water and uses more electricity. Eventually, it burns out completely.
How to descale properly:
This is what’s causing those weird popping and hissing sounds you’ve been hearing. Clean scale = quiet operation.
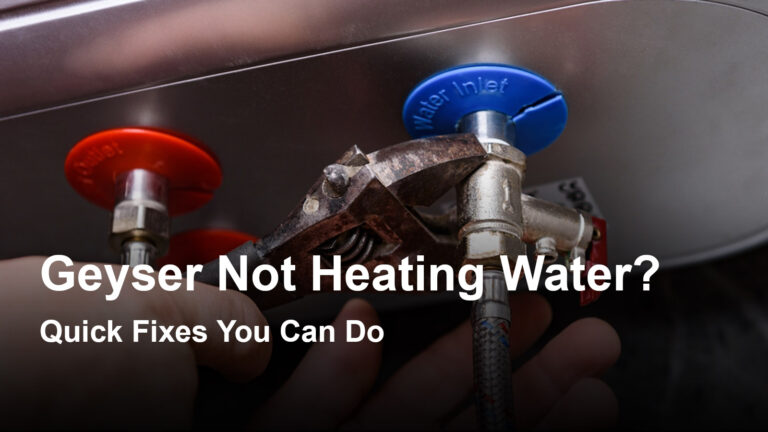
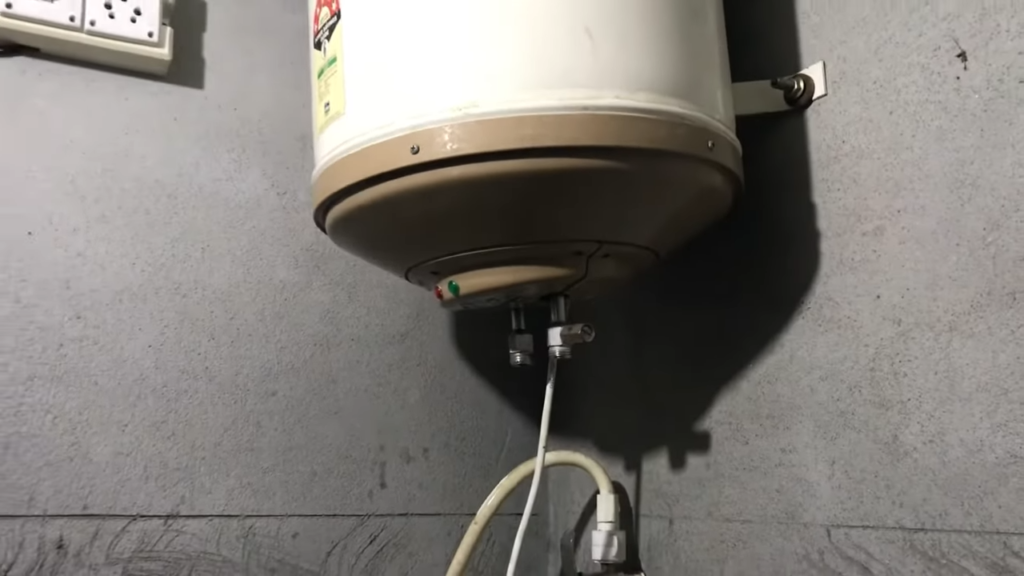
Check for Leaks
A small drip today becomes a flooded bathroom tomorrow. Inspect your geyser every few months for any signs of water around inlet/outlet connections, the MFV area, or near rubber gaskets.
What to look for:
Here’s the hard truth: if water is leaking from the bottom of the tank itself, the inner tank is corroded. You’ll need to replace the entire geyser because tank repairs don’t work.
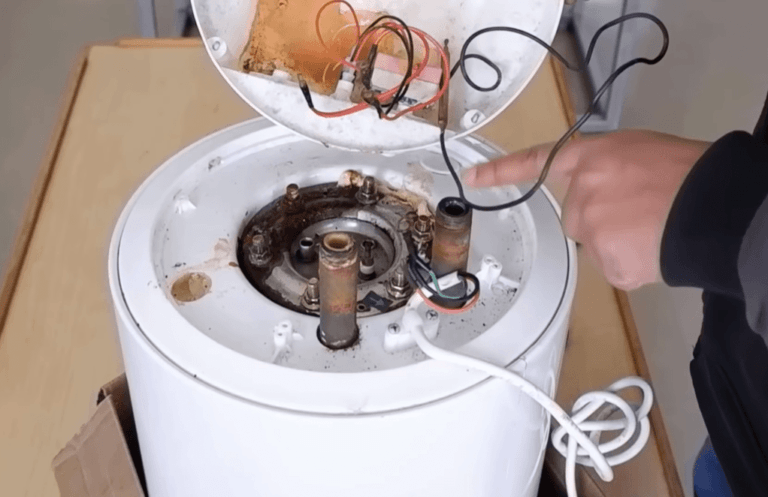
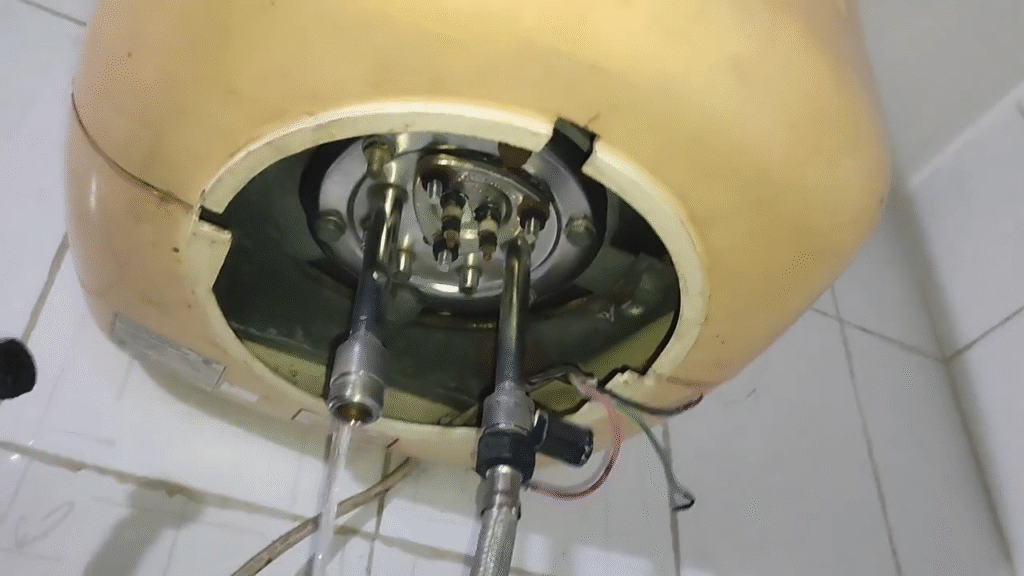
Test Electrical Components
Your geyser has multiple safety systems that can fail over time. Regular testing catches problems before they cause MCB tripping, electric shocks, or complete breakdowns.
Components to check annually:
| Component | Signs of Failure | What to Do |
|---|---|---|
| Thermostat | Water too hot or won’t heat | Press reset button; replace if faulty |
| Thermal Cut-out | Red light on, geyser won’t heat | Press reset; call technician if it keeps tripping |
| Heating Element | MCB trips, no heating, slow heating | Test with multimeter; replace if reading shows zero resistance |
| Wiring & Plug | Burn marks, melted plastic, loose connections | Replace damaged wires immediately |
| ELCB | Frequent tripping without reason | Test monthly; replace if worn out |
If your MCB keeps tripping when you switch on the geyser, it’s usually a shorted heating element or insufficient MCB rating (should be 16A-32A for 2-3kW geysers).
Can’t figure it out on your own? No worries at all. Concord Services is here to help with expert geyser repair in Kolkata. Trusted by homeowners across the city, we provide fast, reliable solutions to get your geyser working safely again, right when you need it.
Common Geyser Problems & Their Maintenance-Based Solutions
You’ve probably dealt with at least one of these issues. The good news? Most problems have simple maintenance fixes you can do yourself.
| Geyser Problem | Solution |
|---|---|
| Low Water Pressure | Clean the inlet/outlet filters and cartridge strainer mesh with a soft brush, then check if the MFV is blocked by sediment. If you’re on the ground floor, you can safely remove the spring from the NRV to improve flow, but never do this in multi-story buildings. |
| Strange Sounds (Popping, Hissing, Crackling) | These noises come from sediment buildup on your heating element that breaks apart during heating. Flush your tank completely and descale the heating element with vinegar or a proper descaling solution. |
| Smelly Water (Rotten Egg Odor) | That sulfur smell is bacteria reacting with your magnesium anode rod inside the tank. Flush the tank thoroughly, disinfect with hydrogen peroxide solution, and consider replacing the magnesium anode with a zinc or aluminum one if the smell keeps coming back. |
| Water Leakage | Tighten all pipe connections and check the MFV for drips (slight dripping during heating is normal). If water leaks from the flange at the bottom, replace the rubber gasket, but if the tank itself is leaking, you’ll need a new geyser because tanks can’t be repaired. |
| Electric Shock Risk | Immediately check that your earthing wire is properly connected and the heating element insulation isn’t damaged. Look for moisture around electrical components and make sure you have MCB, ELCB, and proper earthing installed for complete protection. |
| Geyser Tripping the MCB | Your MCB is probably too weak (upgrade to 16A-32A for 2-3kW geysers) or your heating element has developed a short circuit. Also check for a faulty thermostat, loose wiring connections, or moisture in the electrical area that’s causing the trip. |
Seasonal Geyser Care (Pre-Winter & Post-Winter)
Before Winter
Getting your geyser ready before winter isn’t just smart, it’s essential for those cold mornings when hot water isn’t optional.
Complete Flush and Cleaning
Drain your geyser tank completely to remove sediment, rust, and mineral deposits that have built up over the warmer months. Open the safety valve or drain valve, let all the water flow out, and observe the color for signs of buildup.
Descale the Heating Element
Hard water leaves scale deposits on the heating element, making it work harder and consume more electricity. Remove the element and soak it in vinegar or a descaling solution, then gently scrub away the buildup before reinstalling.
Inspect Safety Valve and Anode Rod
Test your safety valve (MFV or T&P valve) by lifting the lever to ensure it releases water properly and isn’t blocked by salt deposits. Check the anode rod for corrosion, if it’s consumed more than 60%, replace it to protect your tank from rust.
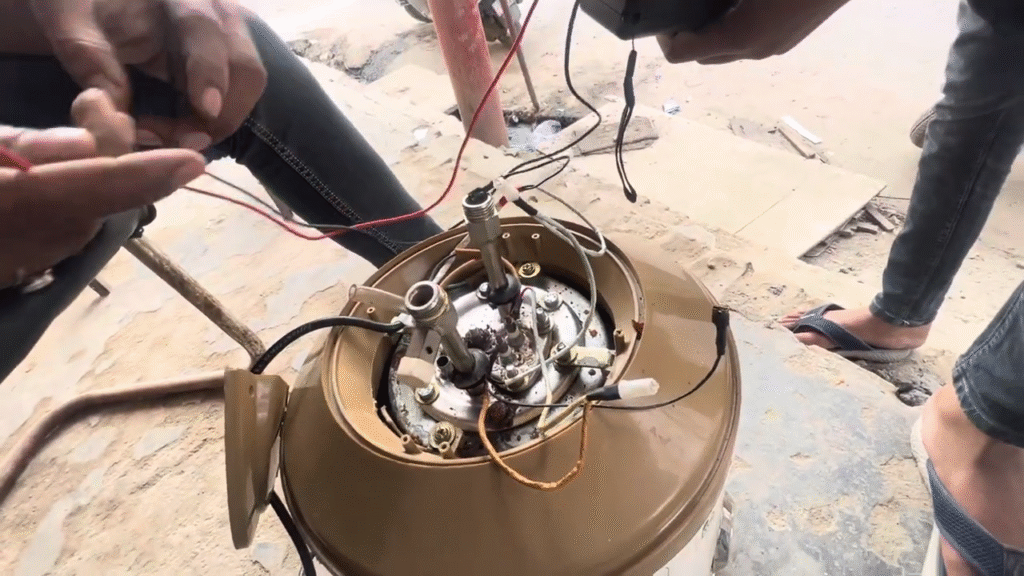
Check Thermostat and Wiring
Take a photo of the wiring before you start, then inspect all electrical connections for any loose wires, burnt marks, or damage. Test the thermostat to ensure it cuts off at the right temperature and that indicator lamps are working properly.
After Winter
When winter ends and you won’t be using hot water as frequently, a little care now saves you from unpleasant surprises later.
Drain Geyser Completely
At the end of winter, switch off the power and drain all water from the tank through the safety valve or drain nut. This prevents stale water from sitting inside, which can lead to foul smells, bacterial growth, and corrosion during the off-season.
Prevent Odor and Bacterial Growth
Leaving water unused for months creates the perfect environment for bacteria that produce hydrogen sulfide gas (that rotten egg smell). Draining prevents this hygiene issue entirely.
Refill Properly Before Next Use
When you’re ready to use the geyser again, open the inlet valve and fill the tank completely until water flows from the outlet tap. Only then should you switch the power back on to avoid dry heating, which damages the element.
Pro Tips to Extend Geyser Life
Maintain Temperature Around 50–60°C
Set your thermostat between 50–60°C for the perfect balance of safety, energy efficiency, and preventing bacterial growth without wasting electricity on unnecessarily high temperatures.
Don’t Keep the Geyser On for Long Idle Durations
Switch off the geyser when not in use or use timer functions and Auto Power Off features (available in Havells Monza Slim and Symphony SPA models) to save energy and reduce wear on components.
Check Anode Rod Yearly
Inspect your magnesium anode rod every year and replace it when consumed more than 60%, as this sacrificial rod protects your tank from rust and corrosion, extending its lifespan significantly.
Install Pressure Reducing Valves for High-Rise Buildings
If your water pressure exceeds 0.8 MPa (80 meters head or above 5 floors), install a pressure reducing valve at the inlet to prevent excessive pressure buildup and tank damage.
Never Block the MFV Dripping Outlet
The Multi-Function Valve dripping during heating is normal thermal expansion, connecting a PVC drain pipe to direct water safely away, never removing or blocking the valve as it’s critical for safety.
Conclusion
A little care goes a long way. Annual flushing, regular safety checks, and timely descaling keep your geyser running smoothly for years. Modern water heaters are built with multiple safety features, and when you maintain them properly, they’re completely safe and reliable.
Make maintenance a habit, not an afterthought, and enjoy worry-free hot water every single day.