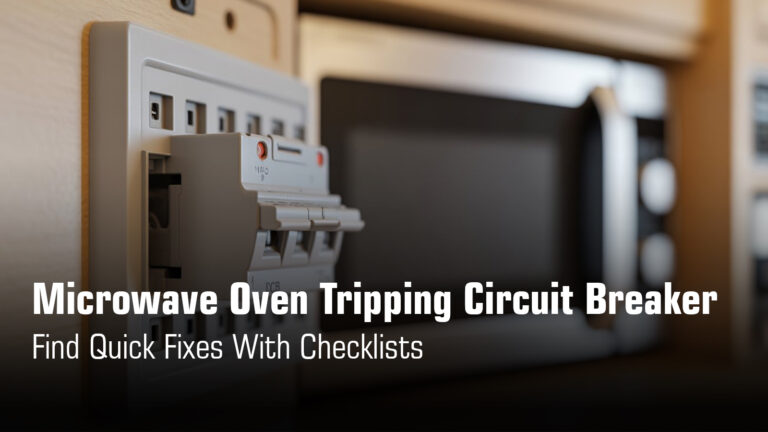
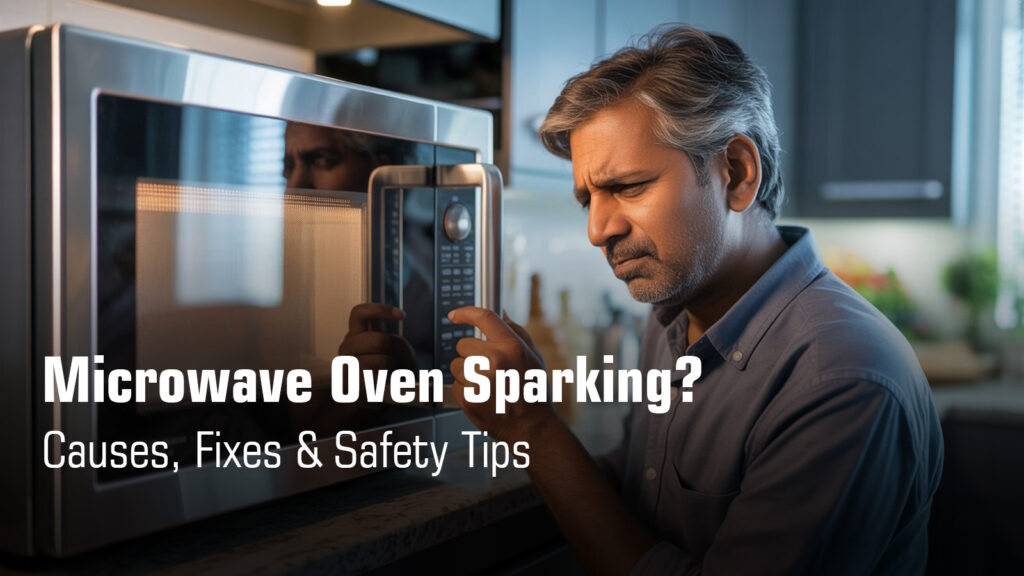
Microwave Oven Sparking? Causes, Fixes & Safety Tips
Microwave Sparking Can Be Dangerous. Find Out Why It Happens, Quick Fixes You Can Try, And Warning Signs You Should Never Ignore.
You’re heating up last night’s dinner when suddenly, you see it: bright flashes inside your microwave, followed by loud popping sounds. That’s sparking, also called arcing, and it’s more than just alarming.
Left unchecked, sparking can damage your microwave’s magnetron, create fire risks, and even pose electrical hazards. But here’s the good news: most sparking issues are common and fixable.
Some you can safely check yourself, like removing metal objects or cleaning the interior. Others, especially those involving internal electrical parts, need a professional. Let’s walk through what you can do and when to call for help.
Quick Checklist to Fix Microwave Sparking Problem
Call Us For Sameday Doorstep Microwave Oven Repair in Kolkata & Surrounding Areas
₹0 Advance Charges
What Causes Sparking Inside a Microwave?
Metal Objects or Foil Inside the Microwave
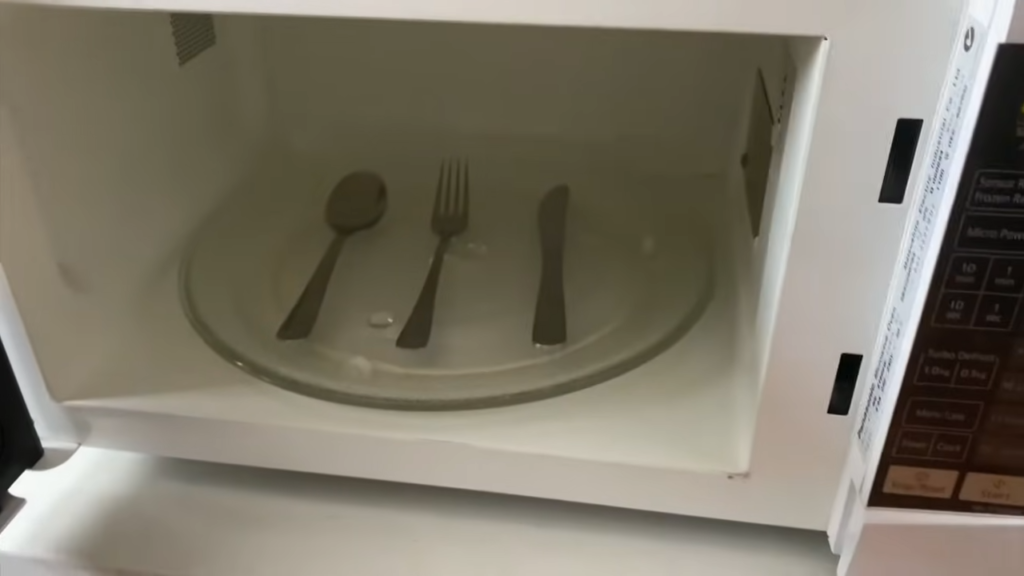
What it is: Any metal item inside your microwave, including aluminium foil, utensils, twist ties, staples, or dishes with gold/silver trim.
Why it causes sparks: Metal reflects microwaves instead of absorbing them. These reflected waves concentrate electrical energy at metal surfaces, creating bright arcing. Here’s something important: long, thin metal patterns (like decorative borders) act like antennas for the 2450 MHz microwave frequency, producing intense sparks even on ceramic or glass plates.
Visible signs:
- Blue flashes or bright sparks
- Loud popping sounds
- Crackling noise during operation
- Even a single steel scrubber strand can trigger sparking
Safe user action: Stop immediately, unplug the microwave, and remove all metal objects. Always use microwave-safe glass, ceramic, or plastic containers only.
Burnt or Damaged Waveguide Cover (Mica Plate)
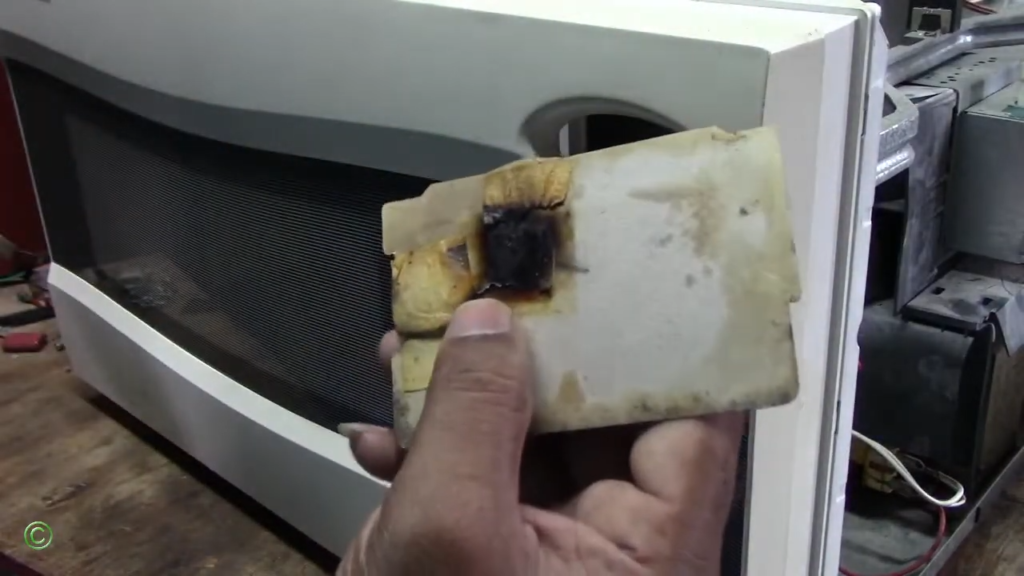
What it is: The mica sheet is a small protective panel on the inner wall covering the opening where microwave energy enters from the magnetron.
Why it causes sparks: Food splashes, oil, and steam stick to this cover. Over time, this residue burns and turns into carbon. Since carbon conducts electricity, it becomes an arcing point. The damaged cover can also let debris reach internal electronics.
Visible signs:
- Brown or black spots on the cover
- Holes, cracks, or warping
- Crackling sounds near the side wall
- Burnt smell during operation
Safe user action:
- If lightly stained: Clean gently with a damp cloth
- If burnt or perforated: Replace the cover immediately (never run without it)
- Remove the screw/clip, cut new mica to size, and refit securely
Grease, Food Debris, or Carbon Buildup Inside the Cavity
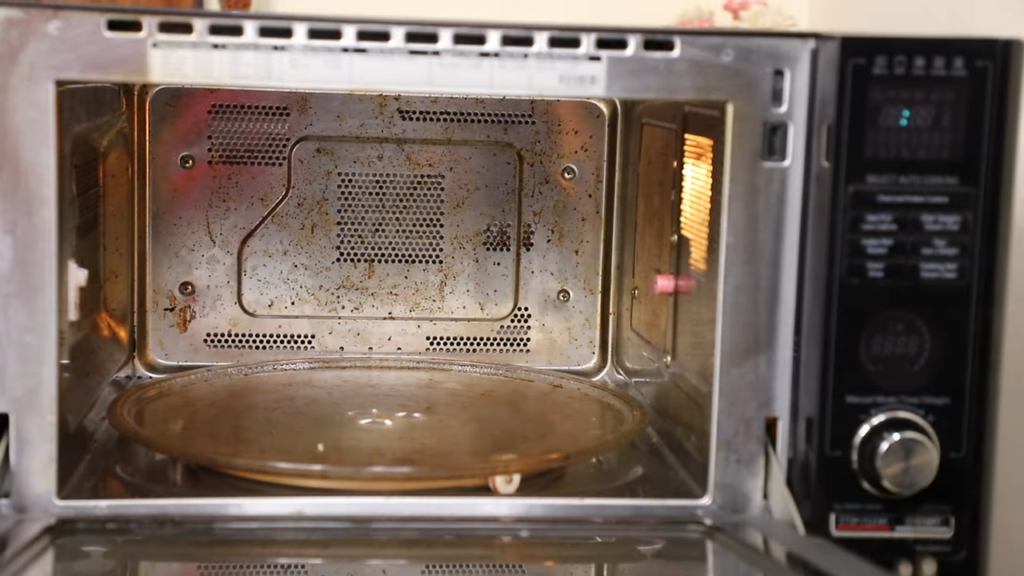
What it is: Built-up food residue, grease splatters, and oil, especially on the ceiling and near the waveguide area.
Why it causes sparks: Repeated heating causes residue to carbonize over time. This carbon layer acts as a conductor, creating electrical discharge points that spark during operation. The ceiling and side walls are high-risk zones.
Visible signs:
- Dark, sticky patches on cavity walls
- Burnt food smell
- Small sparks from walls or ceiling
- Visible carbon deposits
Safe user action:
- Deep clean the cavity using mild soap and a damp cloth
- Clean ceiling, walls, and waveguide area thoroughly
- Wipe dry completely before reuse
- Clean after every few uses to prevent buildup
Peeling Paint, Rust, or Exposed Metal Inside the Oven
What it is: Chipped enamel paint or rust on the cavity’s interior metal surface.
Why it causes sparks: Chipped paint exposes bare metal underneath. Rust creates sharp, pitted points. Both become electrical discharge points where microwave energy concentrates, causing visible sparking. This commonly occurs around the waveguide opening. Damage can happen from abrasive scrubbers, harsh cleaners, or normal aging.
Visible signs:
- Visible paint chips or flaking
- Rust spots or brown discoloration
- Rough, pitted metal surface
- Sparks originating from walls
Safe user action:
- Small spots: Unplug, sand lightly, clean with isopropyl alcohol, apply microwave-safe cavity enamel paint, let dry fully
- Large rust areas: Stop using immediately and call a technician
- Use only soft cleaning cloths (never abrasive scrubbers)
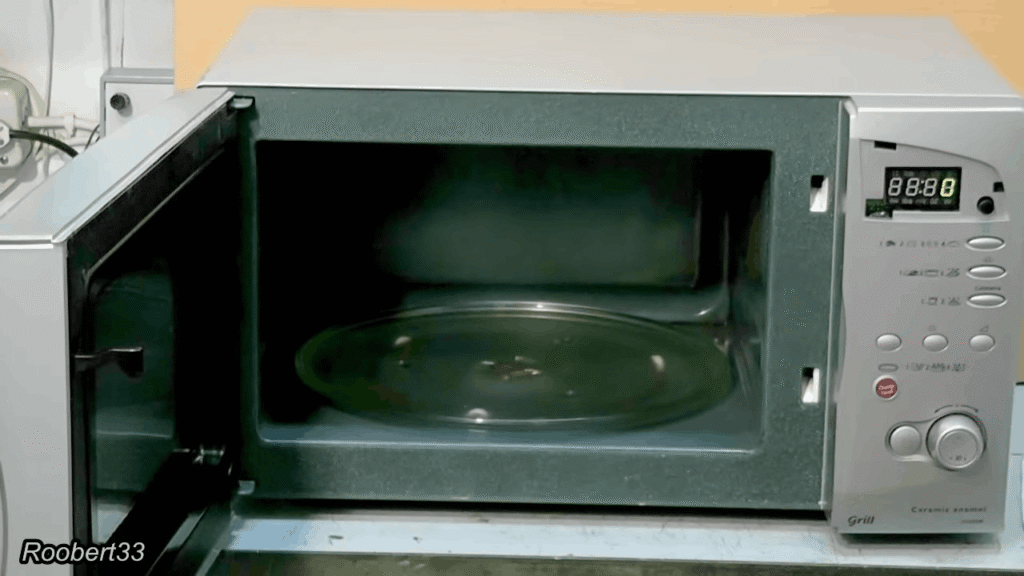
Cracked, Burnt, or Misaligned Turntable Components
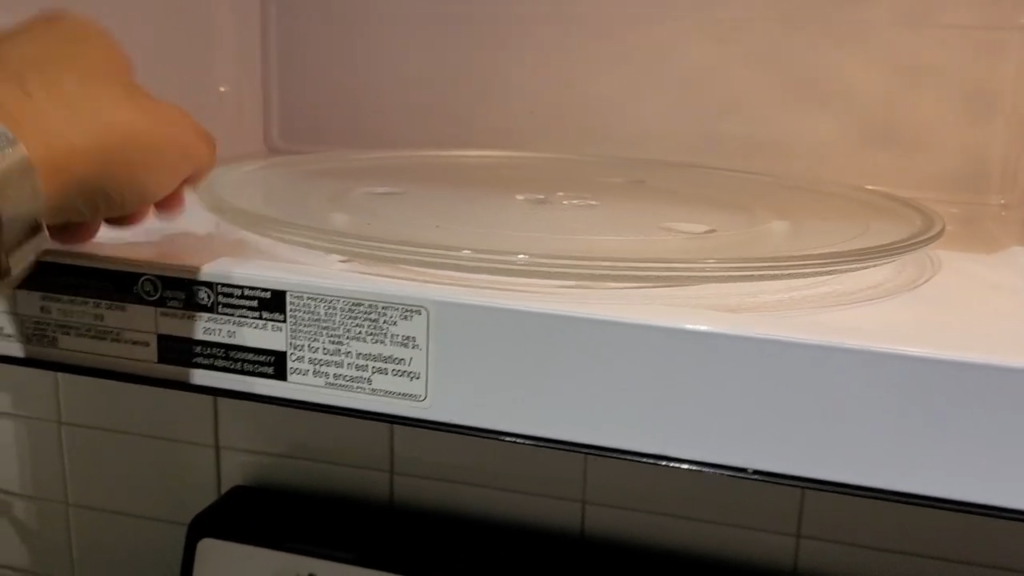
What it is: The glass tray, roller ring (with wheels), and drive coupler beneath the microwave.
Why it causes sparks: Cracked glass edges or debris stuck in roller ring wheels can create friction points. Uneven rotation causes food to stay in one spot, leading to localized overheating and potential arcing. Misalignment prevents proper microwave distribution.
Visible signs:
- Glass tray has visible cracks or chips
- Grinding or clicking noise during rotation
- Tray doesn’t spin smoothly
- Roller wheels damaged or clogged
Safe user action:
- Remove and clean the turntable and roller ring thoroughly
- Check that tray sits properly on grooves
- Inspect roller ring wheels for damage
- Replace cracked glass tray immediately
- Ensure tray is correctly positioned before use
Suggested Read: Microwave Plate Not Spinning – Causes & Easy Fixes
Door, Door Seal, or Latch Alignment Issues
What it is: Problems with the door seal (gasket), hinges, latch mechanism, or door alignment affecting how tightly the door closes.
Why it causes sparks: Poor door sealing affects microwave containment and can allow energy to leak or concentrate at the door frame area. Worn seals or misaligned latches compromise the microwave’s safety system, potentially causing sparking near the door edges or frame.
Visible signs:
- Sparking visible near door frame
- Door doesn’t close firmly
- Gaps visible when door is shut
- Worn or damaged rubber seal
Safe user action:
- Clean door seals gently with damp cloth
- Check that door closes completely
- If latch or hinge feels loose or damaged: Do not attempt DIY repair
If seal is torn or door is warped: Stop using and call professional service immediately (radiation leakage risk)
Suggested Read: How to properly install a microwave oven at your home?
When Microwave Sparking Is NOT Safe to Ignore?
Some sparking situations are serious red flags that demand immediate action. If you notice any of these warning signs, don’t wait to troubleshoot:
Red-Flag Warning Signs:
• Sparks continue with empty cavity If your microwave sparks even when there’s nothing inside, this indicates a severe internal electrical fault that could damage the magnetron, waveguide, or high-voltage components.
• Burning smell along with sparks A burning odor accompanying sparks signals overheating components, burnt wiring, or a failing magnetron that could lead to fire or electrical shock hazards.
• Loud buzzing or popping sounds Unusual loud noises combined with sparking suggest high-voltage component failure, arcing transformers, or serious electrical discharge that poses immediate danger.
• Visible flame or smoke Any sign of fire or smoke means carbonized debris has ignited or internal components are burning, creating an immediate fire risk that requires urgent attention.
• Sparking near control panel or door Sparks around the control panel or door frame indicate potential radiation leakage, door seal failure, or compromised safety interlocks that make the appliance unsafe to operate.
Suggested Read: Microwave Oven Touch Panel Not Working
CRITICAL ACTION REQUIRED:
Unplug the microwave and stop using it immediately.
Do not attempt to use the appliance again until a qualified technician has inspected and repaired it. Continued use with these warning signs can result in fire, electric shock, or permanent damage to the microwave that may render it beyond repair.
Learn How to Safely Use Microwave Oven At Your Home?
Can’t solve the issue on your own? Concord Services delivers prompt, dependable microwave oven repair in Kolkata to get your appliance running safely and efficiently again.
Can You Fix Microwave Sparking Problem Yourself?
| What’s Causing the Sparks | Can You Handle This? | What You Need to Know |
|---|---|---|
| Metal utensils or foil | ✓ DIY Fix | Remove all metal objects immediately. Check for hidden foil pieces, twist ties, or dishes with metallic trim. This is the easiest fix. |
| Food residue or grease buildup | ✓ DIY Fix | Clean the cavity thoroughly with mild soap and a damp cloth. Focus on the ceiling, walls, and waveguide area. Dry completely before use. |
| Burnt waveguide cover (mica sheet) | ✓ DIY Fix (replacement only) | If it’s blackened or has holes, replace it. You can do this yourself, but never run the microwave without one. Simple screw-and-clip installation. |
| Chipped paint (small spots) | ✓ DIY Fix | Sand lightly, clean with alcohol, apply microwave-safe cavity paint, let dry fully. Only for minor chips. |
| Rusted cavity or large paint damage | ✗ Call a Technician | Extensive rust creates sharp points that concentrate electrical energy. This needs professional grinding, repair, and repainting for safety. |
| Door seal damage or latch issues | ✗ Call a Technician | Poor door sealing risks radiation leakage. Don’t attempt DIY repairs on door mechanisms, hinges, or seals. |
| Internal electrical sparking | ✗ Call a Technician | If sparks continue after removing metal and cleaning, you’re dealing with high-voltage components (magnetron, diode, capacitor). These can retain lethal charges even when unplugged. |
Step-by-Step: Safe DIY Fixes
Look, not every sparking problem needs a technician. Some fixes are simple enough to handle yourself, and you’ll feel pretty good about it too. Here’s what you can safely do at home.
1. Removing Metal and Foil
Open the door and do a metal sweep. Check for forks, spoons, twist ties, staples, or even tiny bits of aluminium foil hiding in corners. Don’t forget to inspect your plates and bowls for gold or silver trim, because even decorative edges can spark like crazy.
2. Cleaning the Cavity
Grab a damp cloth with mild soap and wipe down everything inside. Focus on the ceiling, walls, and that area around the waveguide cover where grease loves to hide. Built-up food residue carbonizes over time and becomes a conductor, so regular cleaning actually prevents sparks before they start.
3. Cleaning or Replacing the Mica Cover (Waveguide Cover)
If it’s just lightly stained, wipe it gently with a damp cloth. But if you see black spots, holes, or cracks, you’ll need to replace it: unplug the microwave, remove the screw holding the cover, cut a new mica sheet to match the size and holes exactly, then refit it with the original screw. Never, and I mean never, run your microwave without this cover in place.
4. Minor Paint Touch-Up Using Microwave-Safe Paint
For small chips only, here’s what to do: Unplug the microwave, clean the chipped spot with isopropyl alcohol, lightly sand it smooth, apply thin coats of microwave-safe cavity enamel paint, and let it dry completely before testing with a cup of water. This works for tiny spots, but if you’re seeing extensive damage or rust, stop right there and call a pro.
Testing Your Fix
After any repair, test it safely. Put a cup of water in the microwave, heat it for one minute, and watch for sparks. If the water heats up normally without any fireworks, you’re good to go.
Suggested Read: Microwave Oven Condensation Problem
⚠️ CRITICAL SAFETY WARNING
Never open the microwave body or touch internal components.
Here’s the thing: microwaves contain a high-voltage capacitor that holds a lethal electrical charge for months, even after you unplug it. Internal work involving the magnetron, diode, transformer, or wiring is not a DIY project. Attempting these repairs can seriously injure or kill you. The fixes above are surface-level only and keep you completely safe because they don’t require opening the casing.
Avoid Microwave Sparking in Future With These Steps
You’ve fixed the problem. Now let’s make sure it doesn’t come back. These simple habits take less than a minute but save you from dealing with sparks, smoke, and expensive repairs down the road.
1. Always Use Microwave-Safe Cookware
Check before you heat. Only use containers labeled microwave-safe, which means glass, ceramic, or heat-resistant plastic designed to let microwaves pass through. Metal cookware, foil containers, and dishes with metallic trim or decorative gold/silver borders should never go in your microwave because metal reflects microwave energy and creates instant sparks.
2. Cover Food to Reduce Splatter
Use a microwave-safe lid, wax paper, or paper towel to cover your food while heating. Covering prevents food splatters from sticking to the ceiling and walls where they’ll burn, carbonize, and eventually spark. It also helps food cook more evenly and keeps moisture in, which is a win all around.
3. Clean the Cavity Weekly
Wipe down the interior with a damp cloth and mild soap at least once a week. Focus on the ceiling, side walls, and especially the area around the waveguide cover where grease loves to hide. Regular cleaning stops food residue from carbonizing into conductive material that causes sparking, and it only takes about two minutes.
Suggested Read: How to Properly Clean Your Microwave Oven at Home?
4. Replace Damaged Waveguide Cover Early
Don’t wait until it’s completely burnt. If you notice brown spots, slight discoloration, or any cracks forming on your mica sheet, replace it right away before it develops holes. A damaged waveguide cover is one of the most common spark sources, and catching it early saves you from bigger problems like internal electronics damage.
5. Never Run the Microwave Empty
Always have food or at least a cup of water inside before you press start. Running the microwave empty causes the energy to bounce around with nowhere to go, which can seriously damage the magnetron and other high-voltage components. This is one of those mistakes that can turn a perfectly good microwave into an expensive paperweight.
The Bottom Line:
Prevention is easier than repair. Stick to these five habits, and your microwave will run smoothly for years without giving you any spark-related headaches.
Wrapping it up
Sparking isn’t normal. It’s your microwave telling you something’s wrong before bigger damage happens. Catching it early saves your magnetron and cavity from expensive failure. If you’re unsure what’s causing it or the sparking continues after cleaning, professional inspection is safer and cheaper than buying a new microwave.