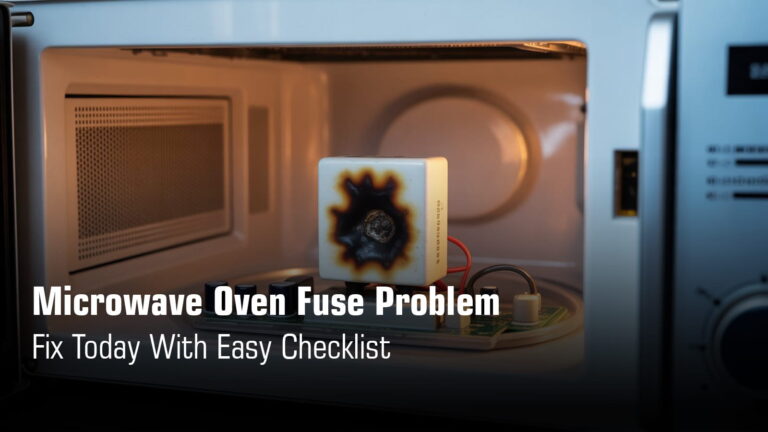
How to Maintain a Microwave Oven for Long Life – Easy Guide
Learn Simple Microwave Maintenance Tips To Prevent Common Problems Like Sparking, Heating Failure, And Bad Smells. Extend Your Microwave’s Lifespan Easily.
Here’s the thing: most microwave failures aren’t factory flaws. When your microwave suddenly stops heating, starts sparking, smells like something’s burning, or shuts down after just three seconds, it’s rarely the manufacturer’s fault. About 64% of heating issues trace back to cracked elements that could’ve been prevented. Door switch failures, fan problems, and those scary sparking episodes? Nearly all of them are maintenance-related.
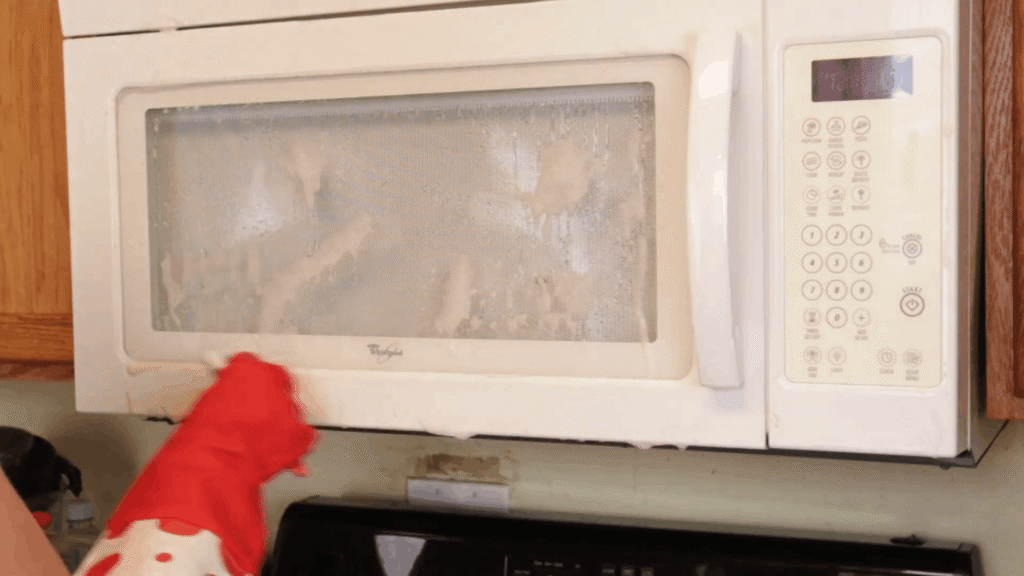
Poor cleaning is the silent killer. That burnt grease on your waveguide cover, the food splatter you keep meaning to wipe down, the carbonized residue turning into a conductor… they add up. Misuse doesn’t help either. Running your microwave empty, using metal containers, or ignoring that faint burning smell can cut your appliance’s lifespan in half.
This guide isn’t about opening up your microwave or rewiring components. It’s about the simple habits you can build today to keep your microwave running for years, not months. Let’s be honest, replacing parts and calling technicians gets expensive. Prevention? That’s free.
Quick Checklist to Maintain A Microwave Oven for Longevity
Hire Highly Skilled Microwave Oven Technician –
Upto 30 Days Service Guarantee
₹0 Advance Charges
Microwave Oven Maintenance Do’s and Don’ts
| Do This | Avoid This |
|---|---|
| Cover food with vented lids to reduce splatter and moisture | Sealing containers tight, which traps steam and causes rust |
| Wipe walls dry after cooking and leave door open briefly | Leaving condensation overnight, inviting mold and corrosion |
| Use glass, ceramic, or microwave-safe plastic only | Metal, foil, or gold-trimmed dishes that spark and damage |
| Let the fan run post-cooking to vent steam properly | Unplugging immediately, which skips ventilation and harms parts |
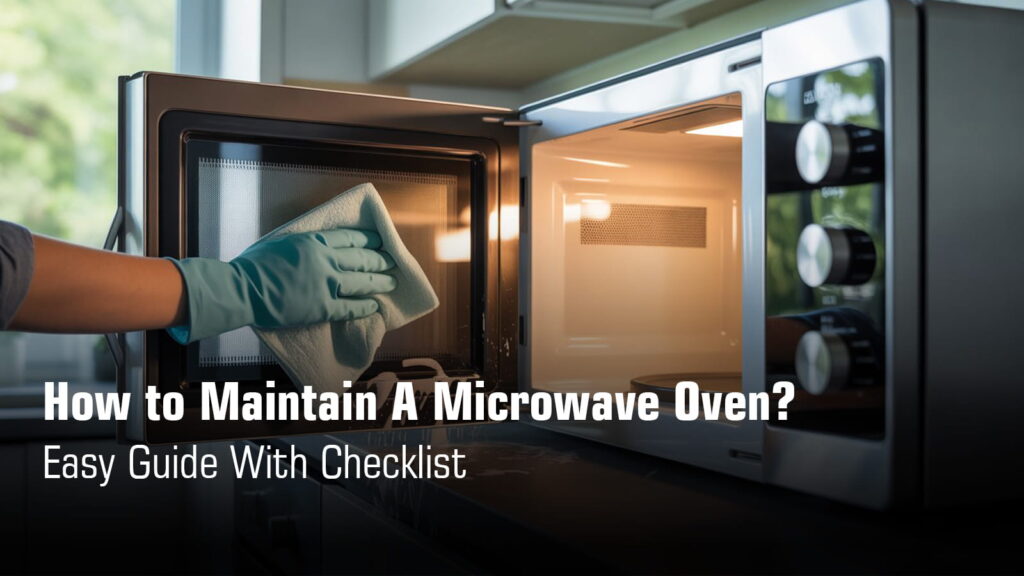
Daily & Weekly Cleaning Habits That Prevent 80% of Microwave Problems
Why Cleaning Is Not Optional?
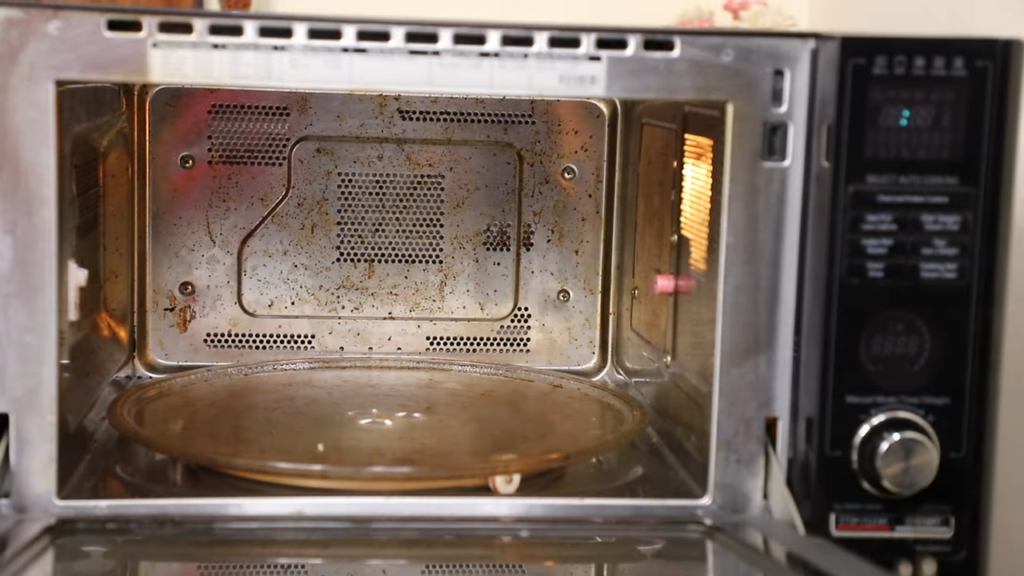
Manufacturer manuals across brands stress one fact: failure to maintain the oven in a clean condition could lead to surface deterioration, adversely affecting appliance life and possibly resulting in hazardous situations. Food residue doesn’t just sit there. It carbonizes under repeated heating, turning into a conductor that causes sparking. Grease buildup, especially on the ceiling and waveguide area, creates electrical discharge points that lead to burning smells and rust. These aren’t cosmetic issues, they’re safety and longevity threats hiding in plain sight.
What uncleaned residue causes:
- Sparking and arcing from carbonized food
- Burning smell from grease on heating elements
- Waveguide cover damage from splattered oil
- Rust and electrical malfunctions from trapped moisture
Daily Cleaning (After Use)
You don’t need a deep scrub every day, just a quick two-minute wipe. Use a damp cloth with mild soap to clean cavity walls, ceiling, and the door where food splatter lands. Pay attention to the area where the door and frame meet, this seal keeps your microwave safe and efficient.
Dry the door glass thoroughly to prevent condensation from turning into rust overnight. After heavy cooking, leave the door slightly open for 10 to 15 minutes so trapped steam can escape instead of clinging to interior surfaces and causing corrosion.
Weekly Deep Cleaning (5-Minute Method)
Once a week, give your microwave a proper steam clean. Mix one cup of water with one tablespoon of lemon juice or vinegar in a microwave-safe bowl.
Heat it for 2 to 5 minutes until it boils and fills the cavity with steam. Let it sit for another 5 minutes.
The steam loosens stuck-on grime, making it easy to wipe away with a soft cloth. Clean the turntable, roller ring, and cavity floor with mild soapy water.
Inspect the waveguide cover visually, don’t remove it, just check for blackening, cracks, or grease buildup that needs wiping.
Suggested Article: How to clean microwave oven yourself at home?
Proper Usage Habits That Extend Magnetron & Internal Parts Life
Never Run the Microwave Empty
Running your microwave without food or water inside sends all that microwave energy bouncing around with nowhere to go, and it reflects straight back to the magnetron causing it to overheat and fail prematurely.
Always place at least a cup of water inside when testing your microwave to protect the magnetron from damage.
Use the Right Utensils Only
Stick to microwave-safe glass, heat-resistant ceramic, or plastic labeled “Microwave Safe” because these materials allow microwaves to pass through without absorbing energy or causing damage.
Metal, aluminum foil, dishes with metallic trim, and thin plastic foam containers shield food from microwave energy and cause arcing (visible blue sparks) that can damage interior paint, the waveguide cover, and even start a fire.
Safe containers:
Avoid completely:
Concord Services provides reliable doorstep microwave oven repair in Kolkata to ensure safe and proper operation again.
Avoid Overcooking & Wrong Power Levels
Overcooking doesn’t just ruin your meal, it burns food residue onto cavity walls creating carbonized buildup that conducts electricity and causes sparking and fire risks. Always match the power level to your food type: use defrost (20-40%) for thawing, medium (60%) for reheating, and high (100%) only for boiling water or cooking fresh vegetables, and never forget to reset the power level back to your desired setting after using defrost mode.
Power level guide:
| Power Level | Use For |
|---|---|
| High (100%) | Boiling water, cooking vegetables, browning meat |
| Medium High (80%) | Reheating, roasting meat, cooking shellfish |
| Medium (60%) | Baking cakes, cooking rice and eggs |
| Defrost (40%) | Thawing frozen food, melting butter |
| Low (20%) | Softening ice cream, raising dough |
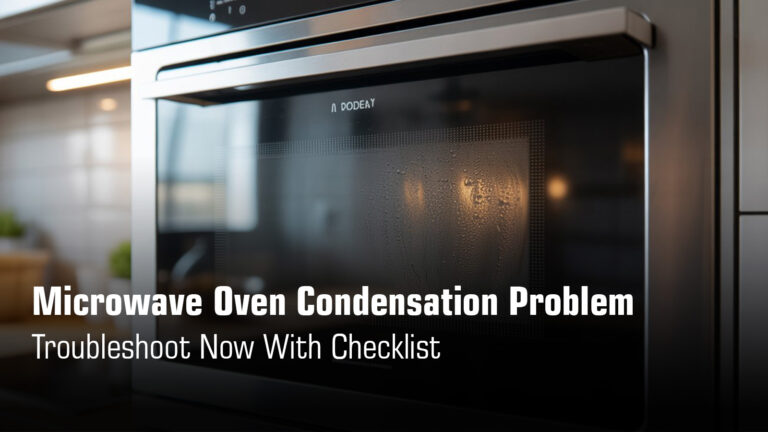
Moisture, Condensation & Ventilation

Why Condensation Happens?
Microwaves work by agitating water molecules, which creates steam. That steam hits your cooler walls and door glass, turns back into droplets, and voilà: condensation. It’s normal, especially when you’re heating moist foods. The key is managing it so it doesn’t turn into a bigger problem.
How to Prevent Long-Term Moisture Damage?
Cover food loosely with vented lids or pierced wrap so steam escapes instead of building up. After cooking, wipe the inside dry and leave the door open for 10 to 15 minutes. Make sure nothing blocks your microwave’s air vents. These small habits prevent rust, mold, and electrical issues down the line.
Quick prevention steps:
When Condensation Is a Warning Sign?
If moisture stays trapped between the door glass panes or water pools on the floor inside, something’s wrong. These signs point to a damaged door seal or faulty ventilation.
Stop using your microwave and call a technician. Ignoring it risks rust, electrical shorts, and even radiation leakage.
Call a professional if you see:
Door, Latch & Seal Maintenance
Why Door Care Is Non-Negotiable?
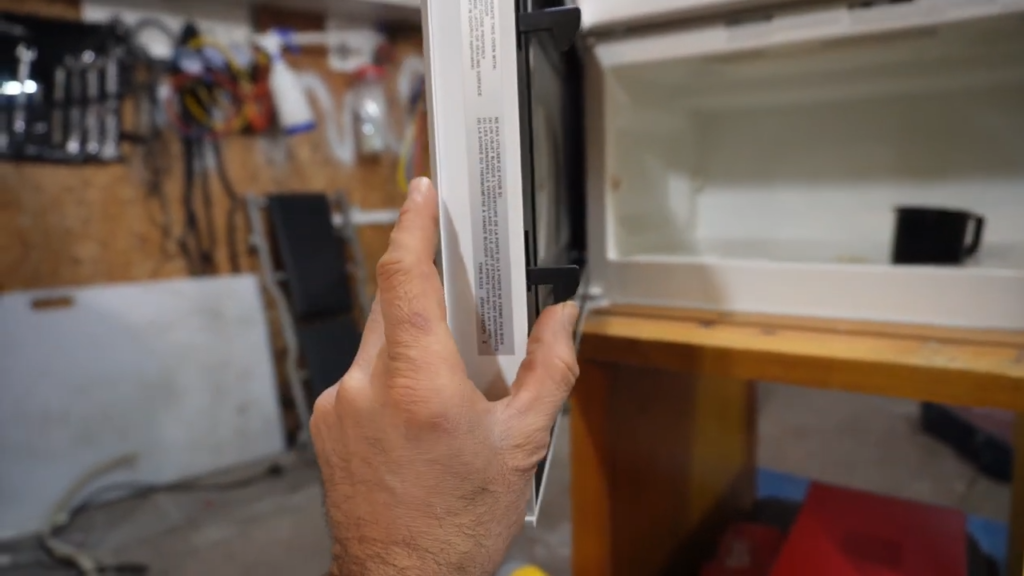
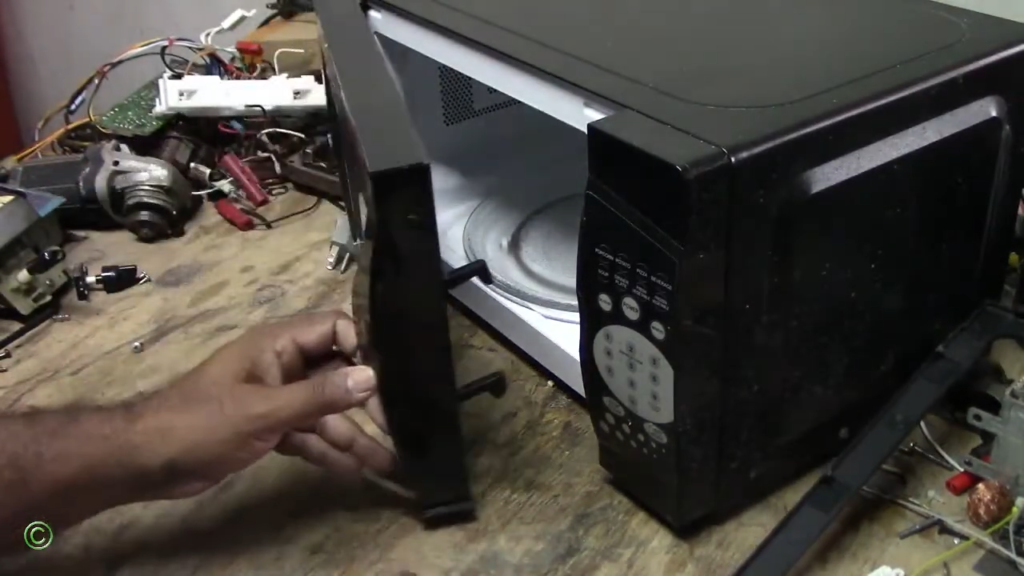
Your microwave won’t heat if even one of its three to four door interlock switches fails to engage properly, because the safety system is designed to prevent heating unless the door is securely closed. Dirty seals, bent latches, or food debris around the door edges prevent proper closure, which means those switches never get triggered and your microwave runs without actually heating your food.
Simple User-Level Door Care
Clean the door edges, latch area, and rubber seals weekly with a damp cloth to remove food particles and grease that prevent proper closure. Never slam the door shut, because this can bend the hinges, misalign the latch, or damage the door switches over time. Always listen for a clear “click” when closing, that’s the sound of the latch engaging the safety switches properly.
Weekly door maintenance checklist:
Warning Signs You Shouldn’t Ignore
If your door doesn’t close smoothly or feels stiff when you try to shut it, the hinges or latch mechanism may be damaged and need professional repair.
A microwave that runs (light on, turntable spinning) but doesn’t heat often points to faulty door switches that aren’t making proper contact.
If the interior light stays on even after you close the door, one of the door switches has failed and needs immediate replacement by a technician to prevent potential radiation leakage.
Red flags requiring professional help:
Blog topics on microwave oven worth reading on our website:
How to Safely Use Microwave Oven At Your Home?
How to Properly Install Your Microwave Oven?
Microwave Oven Touch Panel Not Working?
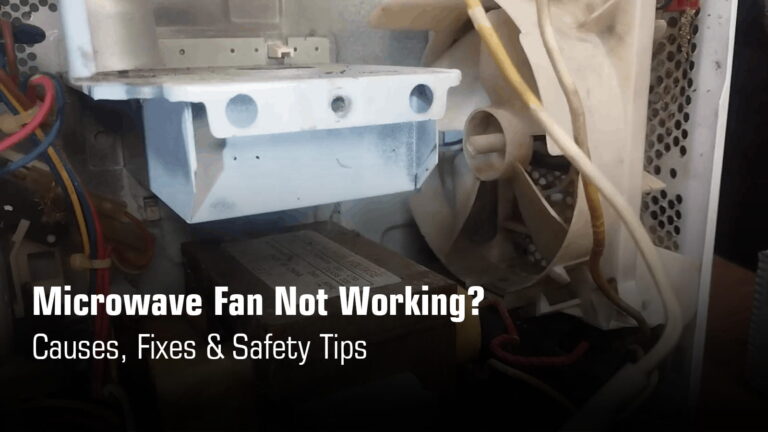
Fan, Airflow & Cooling: Prevent Overheating Failures
Why Cooling Fans Matter?
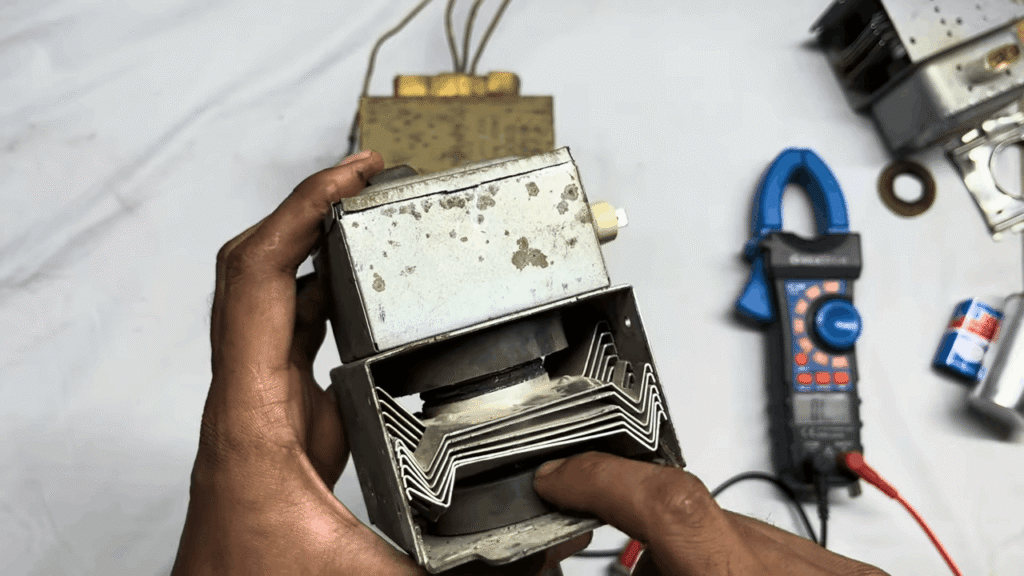
Your cooling fan keeps the magnetron and transformer from burning out. When that fan fails or airflow gets blocked, those high-voltage parts overheat fast. Next thing you know, your microwave shuts off after three seconds, and you’re looking at a magnetron replacement that costs more than a new unit.
User Maintenance Tips
Wipe the rear and side vents monthly to clear dust buildup. Never stack things on top or block the vents with towels or containers. After cooking, don’t unplug right away. Let the fan finish its cooling cycle for a minute or two. It’s protecting your investment.
Quick maintenance steps:
Signs of Fan or Overheating Issues
Loud grinding or humming from the back? Fan bearings are worn. Microwave shuts off after a few seconds? Thermal protector is tripping from overheating. Outer body hot to the touch? Blocked vents or dead fan. Any of these mean you need to act now before the magnetron burns out.
Call a technician if you notice:
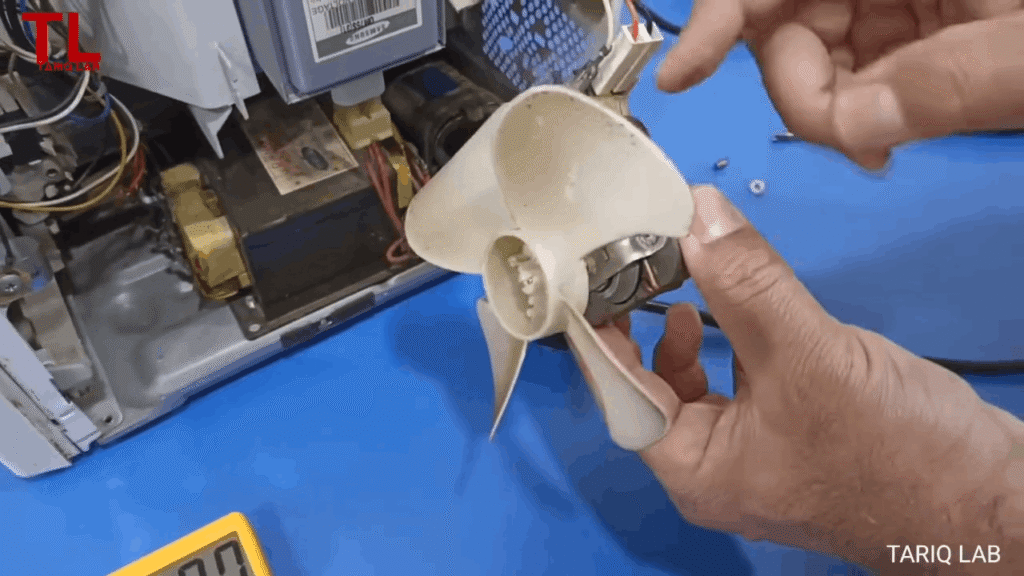
When NOT to DIY: Knowing the Limit Saves the Microwave
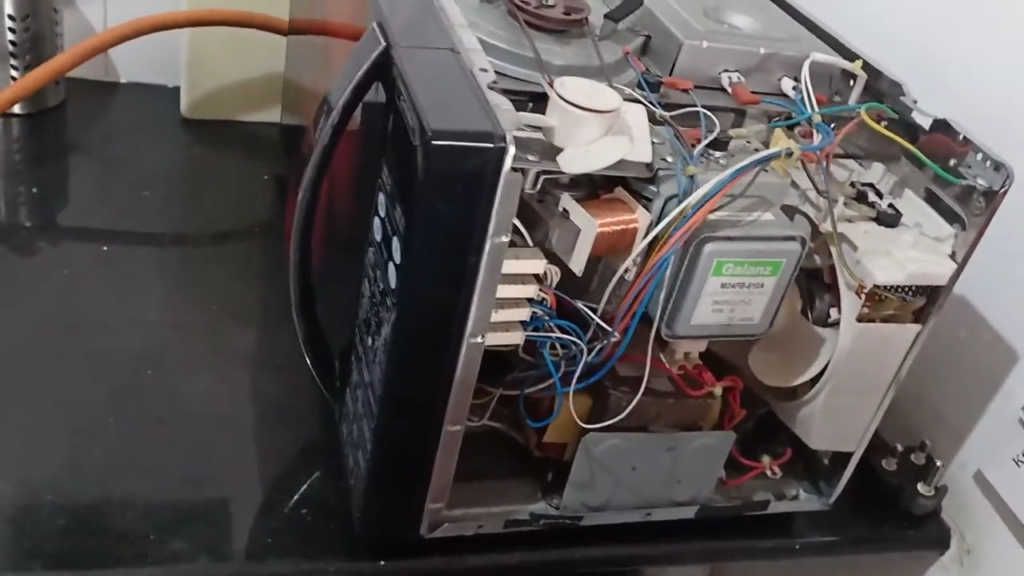
Every manufacturer manual says it in bold: Never remove the outer casing. This isn’t legal fine print. It’s a warning that could save your life.
Here’s what most people don’t know: the high-voltage capacitor inside your microwave holds a lethal charge for months after you unplug it. You could disconnect it today, open it next week, touch the wrong component, and get hit with several thousand volts. That’s not a scare tactic. That’s reality.
Got a burning smell and no heating? Stop right there. Don’t open it. Don’t watch a YouTube tutorial and think you’ve got this. Call a technician. That combination almost always means a failed magnetron, transformer, or high-voltage diode. These aren’t DIY parts. They require discharge procedures, insulated tools, and training you probably don’t have.
Never attempt these repairs yourself:
Call a pro immediately if:
Your safety matters more than saving a service call fee. And let’s be honest, if your microwave needs expensive internal work and it’s old? Replacement usually makes more sense financially anyway.
Preventive Maintenance Schedule
| When | What to Do | Why It Matters |
|---|---|---|
| After Every Use | Wipe up spills with a damp cloth and dry the door glass to prevent condensation buildup | Stops food from carbonizing into a conductor that causes sparking. Prevents rust and mold from trapped moisture. |
| Weekly | Steam clean with lemon water for 5 minutes, then wipe cavity walls. Wash turntable and roller ring in soapy water. | Removes grease before it burns onto surfaces. Keeps turntable spinning smoothly so food heats evenly. |
| Monthly | Clean rear and side vents with a dry cloth. Inspect door seals for cracks. Check waveguide cover for burn marks. | Blocked vents cause overheating and magnetron damage. Damaged seals create radiation leakage risk. |
| Immediately | Stop and unplug if you notice loud grinding noise, sparking, burning smell, or sudden shutdown. Call a technician before using again. | These are warning signs of failing components. Using a damaged microwave risks fire, electric shock, or complete breakdown. |
That’s a Wrap
Most microwave problems are preventable. Clean regularly, use it the right way, and don’t ignore early warning signs like odd noises or uneven heating. Small habits today save big repairs tomorrow. And if you ever need expert help, Concord Services Kolkata is just a call away.