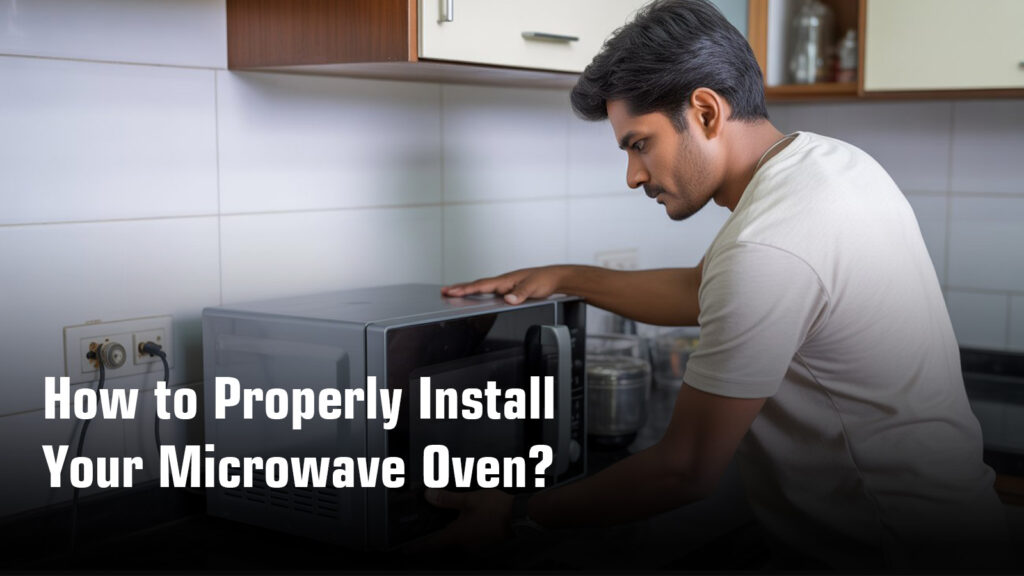
How to Properly Install Your Microwave Oven?
Step-by-step guide to properly install a microwave oven, including power, grounding, ventilation, and first-time safety checks.
Your new microwave trips the breaker the moment you plug it in. Or it sparks when you press start. Maybe the door won’t latch properly.
Here’s what most people don’t realize: these aren’t signs of a defective appliance. They’re installation mistakes.
Most microwave problems start at setup, not with component failure. A wrong fuse rating, improper earthing, shared circuit, or loose door switch can trigger issues that look serious but are actually fixable.
This guide covers proper installation basics for countertop, built-in, and over-the-range models, regardless of brand. Let’s get your microwave running safely from day one.
Quick Installation Checklist For Microwave Oven
Hire Concord Service’s Experts in Kolkata for
Doorstep Microwave Oven Repair
₹0 Advance Charges
Choosing the Right Installation Location
Getting the location right isn’t just about finding empty counter space. It’s about protecting your microwave from damage and keeping your family safe.
Flat, Stable & Heat-Free Surface
Your microwave needs a solid foundation. An uneven surface causes more than just annoying vibration during operation. It can throw off door alignment, leading to gaps that let microwave energy leak out or prevent the door from closing properly. Over time, constant shaking can loosen internal components and create rattling noises that signal trouble.
Safe distance guidelines:
| Heat Source | Minimum Distance Required | Why It Matters |
|---|---|---|
| Gas stove/cooktop | Do not install directly above | Heat can damage internal components and void warranty |
| Induction cooktop | Do not install directly above | High temperatures can warp plastic parts and affect electronics |
| Water sink | Keep reasonable distance | Splashing water increases humidity and electrical short risk |
Never install your microwave over a range cooktop or any heat-producing appliance. The rising heat will damage the internal electronics, and your warranty won’t cover it.
Indoor Use Only (Humidity & Moisture Risks)
Microwaves are built for indoor kitchens only. When steam from heated food hits the cooler interior walls, it turns into water droplets. In poorly ventilated kitchens, this moisture has nowhere to escape. The result? Condensation builds up inside the cavity, leading to rust on metal components, mold growth, and even electrical malfunctions over time.
Locations to avoid completely:
- Balconies or covered outdoor areas (temperature changes cause excessive condensation)
- Utility rooms near washing machines (high humidity environment)
- Bathrooms or laundry areas (moisture-heavy spaces) Any area where heat, moisture, or high humidity are constantly generated
These environments create the perfect conditions for rust, corrosion, and electrical short circuits. If your kitchen has poor ventilation, make sure to wipe down the interior after each use and leave the door slightly open to let moisture escape.
Electrical Requirements You Must Follow
Getting the electrical connection wrong is like building a house on a weak foundation. Everything might look fine at first, but problems show up fast.
Dedicated Power Socket Only
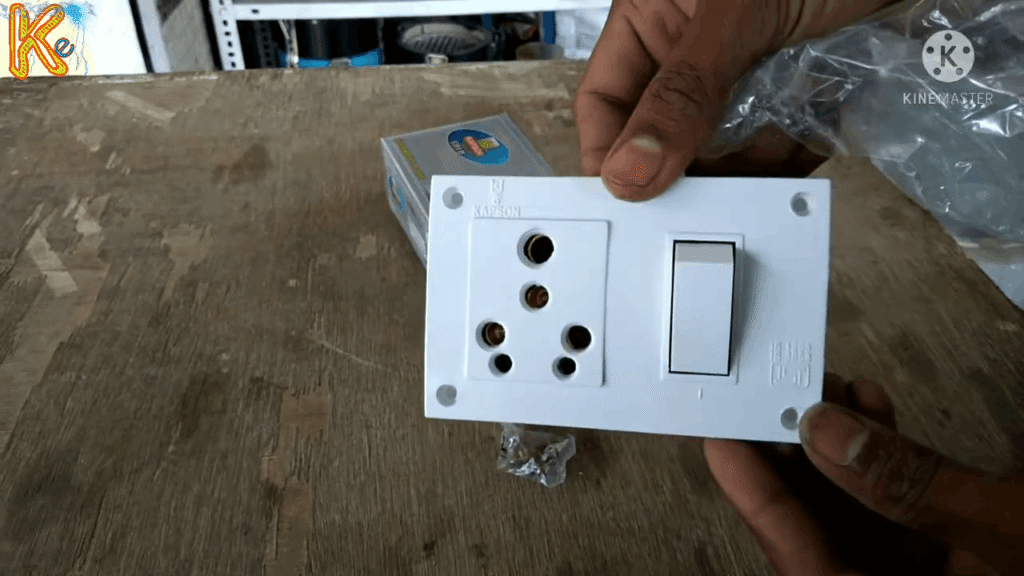
Your microwave pulls around 12 to 15 amps when it runs. Share that circuit with your fridge, kettle, or mixer, and you’re asking for trouble. The combined load trips your breaker, and over time, those repeated trips weaken the breaker itself, creating a real fire hazard if it eventually fails to trip at all.
Here’s what most people don’t realize: extension cords and spike guards aren’t just inconvenient. They’re dangerous. The extra connection points create resistance, causing heat buildup and voltage drops. Your microwave might seem fine for a week, then suddenly start tripping or heating poorly. If your outlet is too far, don’t grab an extension cord. Call an electrician to install a new socket nearby.
Proper Earthing / Grounding Is Mandatory
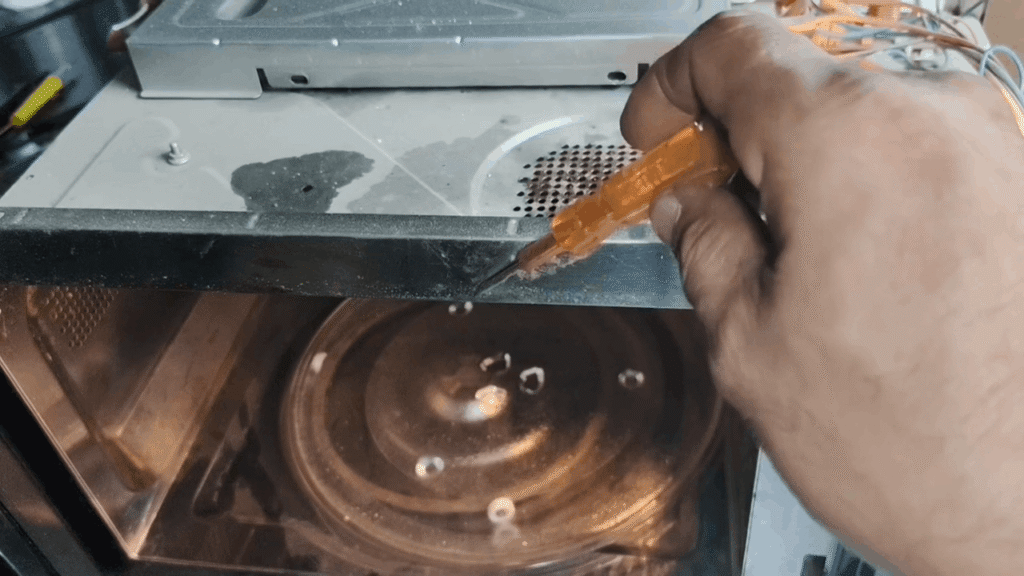
That third pin on your microwave plug isn’t there for decoration. It’s there to save your life. When an electrical fault happens inside the microwave, grounding gives the current a safe path to escape instead of traveling through your body.
Warning signs you can’t ignore:
- Sparks when you touch the microwave body
- Tingling sensation or mild shocks from the exterior
- Breaker trips repeatedly with nothing else plugged in
- Burning smell or strange buzzing sounds
If you see any of these, unplug immediately and call an electrician. Never remove the ground prong or use an adapter to force a three-pin plug into a two-pin socket. That one shortcut can cost you your warranty, your appliance, or worse.
Not sure if your outlet is properly grounded? Get it checked before you plug in. It’s a small cost compared to the risk.
Related reading: Microwave Earthing Problem
Correct Ventilation & Clearance Requirements
Your microwave generates heat while it works. Without proper airflow, that heat has nowhere to go, and components start failing fast.
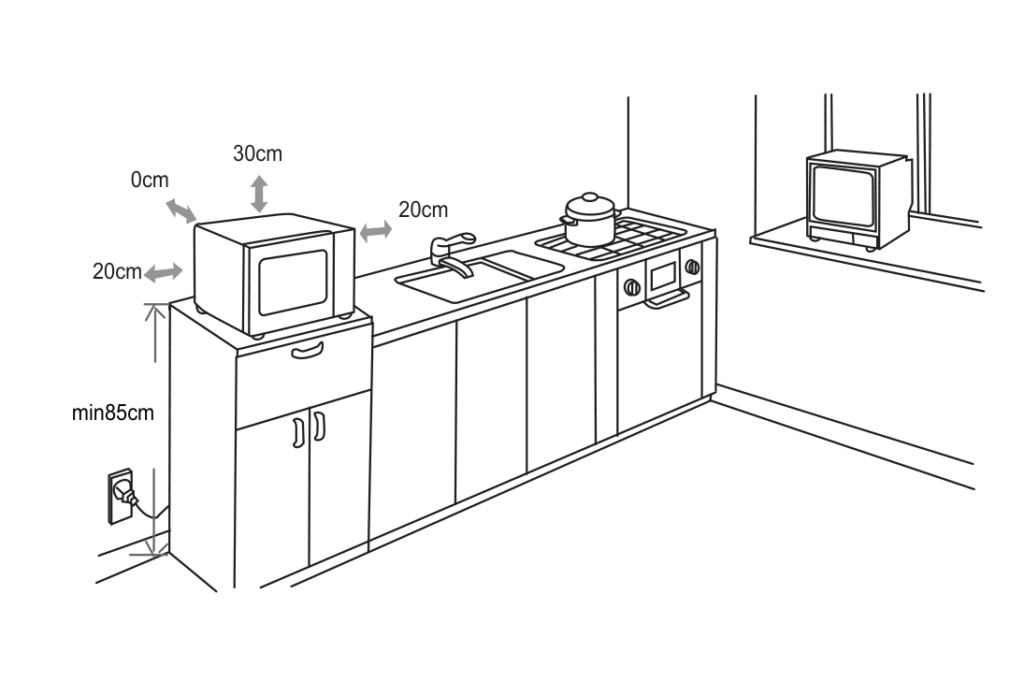
Minimum Clearance Guidelines (General)
Think of clearance space as your microwave’s breathing room. Leave 30cm above the oven, 20cm on both sides, and place the back against a wall with proper spacing. When vents get blocked by kitchen items, decorative boxes, or cookbooks stacked on top, hot air gets trapped inside. The magnetron, which generates microwave energy, overheats first. Then the control board follows, leading to burning smells, automatic shutdowns, or permanent damage that costs more to repair than replace.
Standard clearance requirements:
| Location | Minimum Space | Why It Matters |
|---|---|---|
| Above microwave | 30cm | Allows hot air to escape upward |
| Both sides | 20cm | Prevents heat buildup around electronics |
| Back | Against wall (with built-in gaps) | Ensures rear vents aren’t blocked |
| Bottom | Keep legs attached | Provides airflow underneath |
Built-In Microwave Ventilation Rules

Built-in microwaves look sleek, but they need airflow just like countertop models. The cabinet must not have a rear wall directly behind the appliance, and ventilation slots cannot be covered.
Some homeowners install beautiful cabinet doors thinking it completes the look, but closing those doors while the microwave runs traps heat and moisture inside.
Within weeks, you’ll notice condensation, then rust, then electrical problems. If your built-in setup includes decorative doors, keep them open during and after use to let moisture escape.
Related reading: Microwave Oven Condensation Problem
Having trouble fixing it on your own? Concord Services offers prompt and reliable microwave oven repair in Kolkata to restore safe, efficient operation.
Installing Turntable, Roller Ring & Accessories Correctly
This might seem obvious, but you’d be surprised how many service calls come from turntables installed backward or roller rings sitting crooked. Getting this right takes 30 seconds and saves you from weeks of frustration.
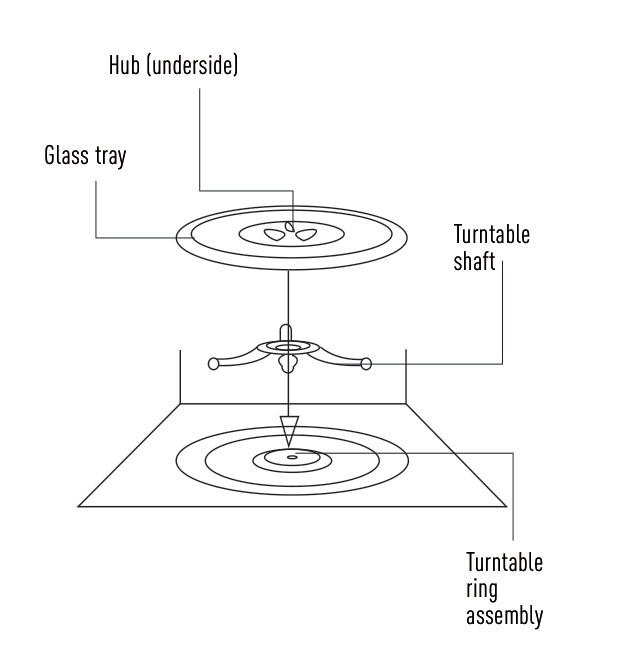
Correct installation sequence:
- Turntable shaft first (the small hub in the center of the cavity floor)
- Roller ring assembly (the circular ring with wheels that sits on the floor)
- Glass tray (placed on top with the hub fitting into the center groove)
Never place the glass tray upside down. The hub on the underside must sit securely on the turntable shaft. If it’s even slightly off, the tray wobbles, makes grinding noises, and heats food unevenly.
Here’s what most people don’t realize: running your microwave without the glass tray causes serious internal damage. The microwave energy needs to be absorbed by food or water. Without the tray and food in place, that energy reflects back into the magnetron, overheating it and potentially burning it out. One empty run won’t destroy it, but repeated use without the tray shortens your microwave’s life significantly.
Quick spin test before first use:
Place a cup of water on the tray and run the microwave for 30 seconds. Watch to confirm the plate spins smoothly without wobbling or catching. If it doesn’t turn, check that the roller ring is seated properly and the glass tray hub fits snugly on the shaft. This simple test catches 90% of installation mistakes before they become real problems.
Related reading: Microwave Plate Not Spinning Problem
Door Alignment & Safety Interlock Check
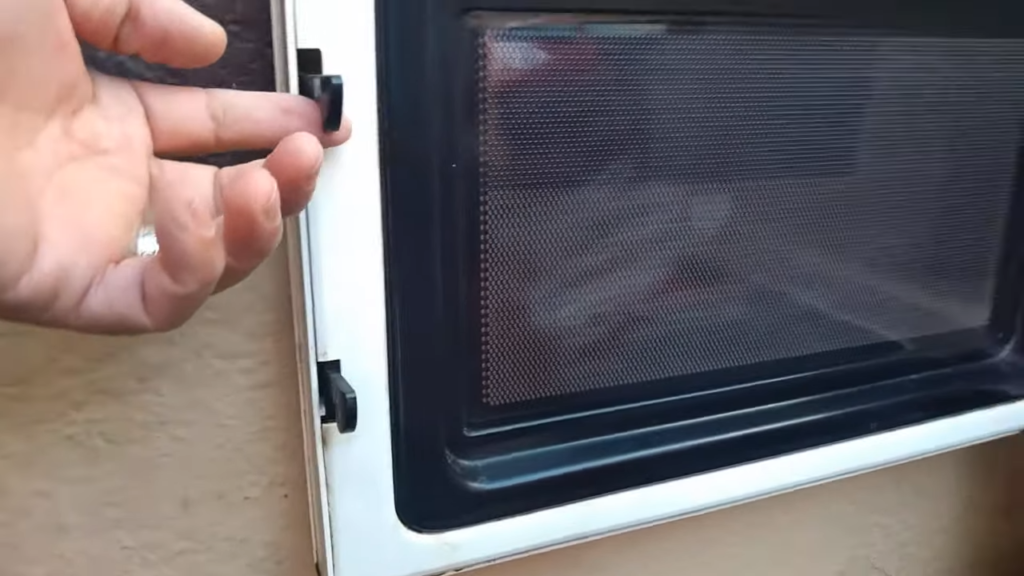
Your microwave won’t start? Check the door first. It’s one of the most overlooked reasons.
Close it and listen for a firm click. The door should sit flush against the frame with no gaps. If you have to push hard or it feels loose, that’s your problem. The safety switches inside won’t engage, and the microwave refuses to heat.
Why this matters:
A warped or loose door throws off the latch mechanism. The internal switches think the door is still open, even when it’s closed. You press start, nothing happens. But the safety system is just doing its job, protecting you from microwave radiation leakage.
Stop using it if the door feels loose:
A wobbly door or one that doesn’t seal right means potential radiation leakage. It also means the hinges or latch are failing. Keep using it, and a simple fix becomes an expensive replacement. Get it checked by a professional right away.
Related reading: Microwave Oven Door Not Opening or Closing Problem
Common Installation Mistakes That Cause Microwave Problems
Most microwave problems don’t start when you press the button. They start the day you install it wrong.
Six mistakes that lead to expensive repairs:
Using extension boards:
Extension cords add resistance to the electrical path, causing voltage drops and heat buildup at connection points. Even if rated correctly, they can overheat, melt, or create fire hazards, and manufacturers explicitly warn against them.
No earthing:
Skipping proper grounding removes your only protection against electrical shock. Without the third pin connected to a grounded outlet, any internal short circuit sends current through the metal body instead of safely to ground, putting you at serious risk.
Blocking rear/top vents:
Stacking cookbooks on top or pushing the microwave flush against cabinets blocks airflow. Hot air gets trapped, the magnetron overheats, and within weeks you’ll notice burning smells, auto shutdowns, or complete failure.
Installing above heat sources:
Mounting your microwave over a gas stove or cooktop exposes it to constant rising heat. The internal electronics weren’t designed for this, components fail faster, and your warranty becomes void the moment you do it.
Running without turntable:
Operating without the glass tray and roller ring causes uneven heating and reflects microwave energy back into the magnetron. This shortens its lifespan significantly and can lead to permanent damage from just a few empty runs.
Loose cabinet fitting (built-in models):
Built-in microwaves need secure mounting and proper alignment. A loose fit causes vibration, misaligns the door seal, and can damage internal components over time, leading to poor heating performance and safety issues.
Each of these mistakes seems small at installation. But they add up to service calls, repairs, and shortened appliance life.
Related reading:
Microwave Tripping Circuit Breaker Problem
How to Safely Use Microwave Oven At Your Home?
Final Thoughts
Here’s what matters most: proper installation prevents nearly every common microwave problem you’ll face. It’s not about the brand name on the front. It’s about safety, ventilation, and grounding done right from day one.
If your microwave shows any issues after installation (sparking, tripping breakers, strange smells, door problems), stop using it immediately and get it checked by a professional. Your safety isn’t worth the risk.