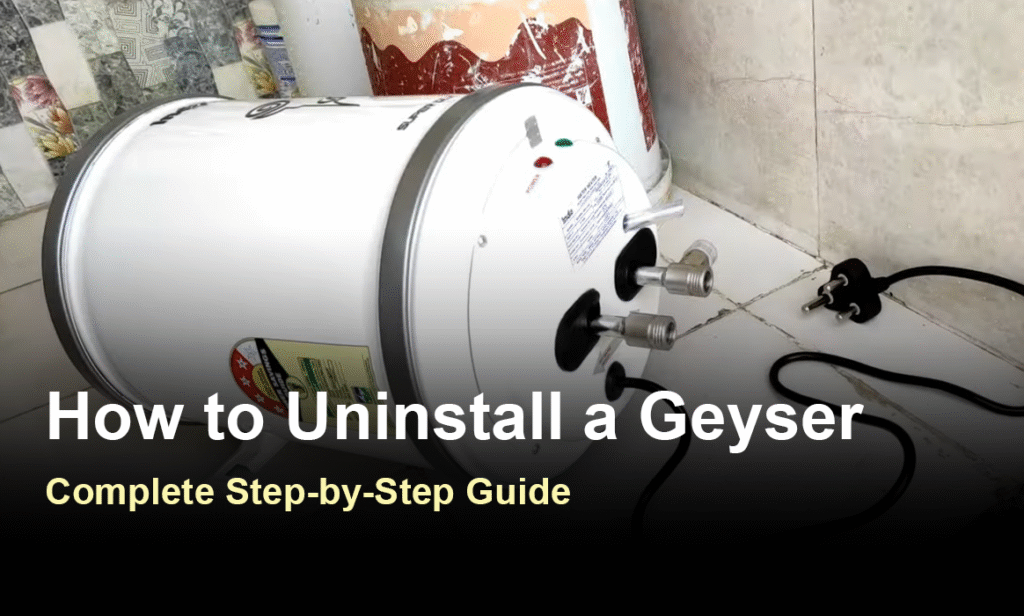
How to Uninstall a Geyser: Complete Step-by-Step Guide
Planning to remove your old geyser? This easy to follow guide walks you through the entire uninstallation process, safety tips, and expert advice.
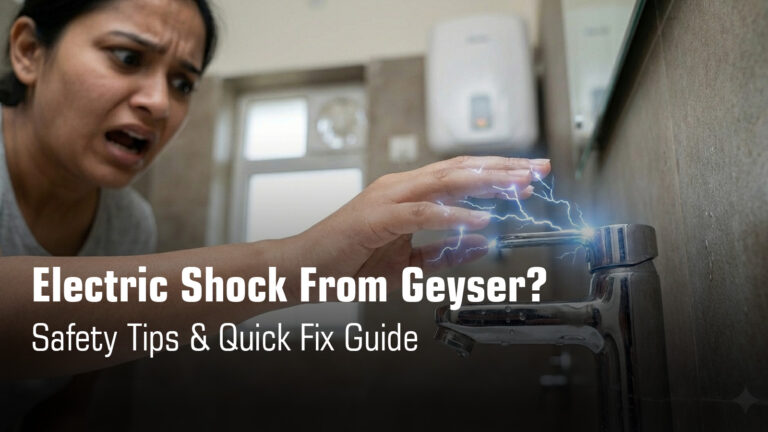
Uninstalling a water heater, or geyser, means safely disconnecting and removing the unit from its mounted position. You might need to do this for several reasons: replacing an old or faulty unit, moving to a new home, bathroom renovation, or addressing major malfunctions that require complete removal.
While it might seem straightforward, geyser uninstallation involves working with electricity, water connections, and heavy equipment. Following the right procedure isn’t just about getting the job done. It’s about keeping yourself safe, preventing water damage, and ensuring all parts remain intact for reinstallation or proper disposal. Let’s walk through exactly how to do this correctly.
Safety Precautions Before You Begin
Before you touch anything, let’s talk about safety. Working with geysers means dealing with electricity, hot water, and pressurized connections. Here’s what you absolutely must do:
Tools & Materials You Will Need
Before you start uninstalling your geyser, gather everything you need. Having the right tools on hand makes the process smoother and safer.
Identify Your Geyser Type
Before you begin, know what type of geyser you’re dealing with.
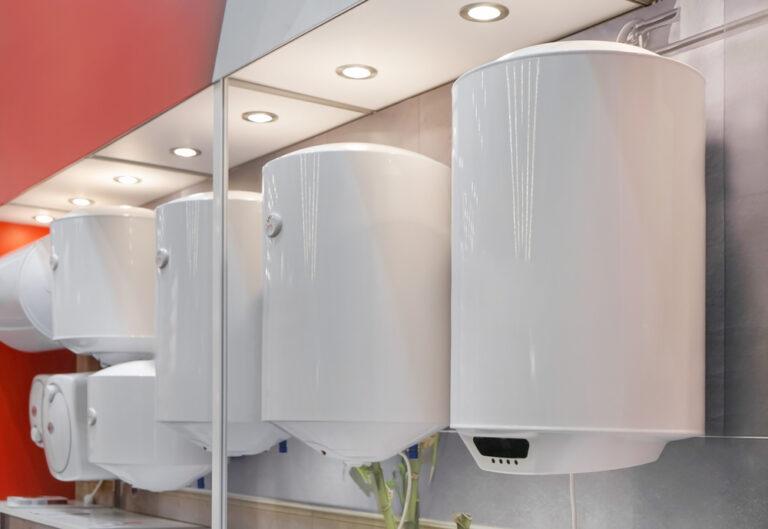
Electric instant water heaters heat water on demand without a storage tank, making them lighter and simpler to remove.
Electric storage water heaters (ranging from 6L to 25L capacity) have an inner tank that stores hot water, making them heavier and requiring complete drainage.
Different types need slightly different uninstallation steps, particularly when draining and handling the unit, so identifying yours first helps you prepare properly.
If you are not confident to repair it by yourself, contact us now! We, Concord Services are one of the few famous geyser service center in Kolkata.
Step-by-Step Guide: How to Uninstall an Electric Water Heater
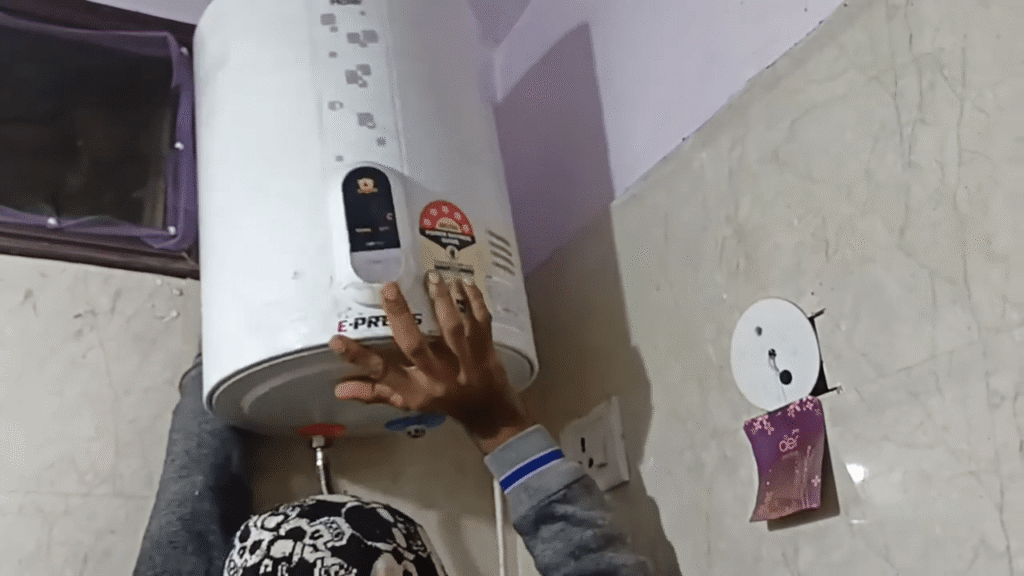
Step 1: Turn Off the Power Supply
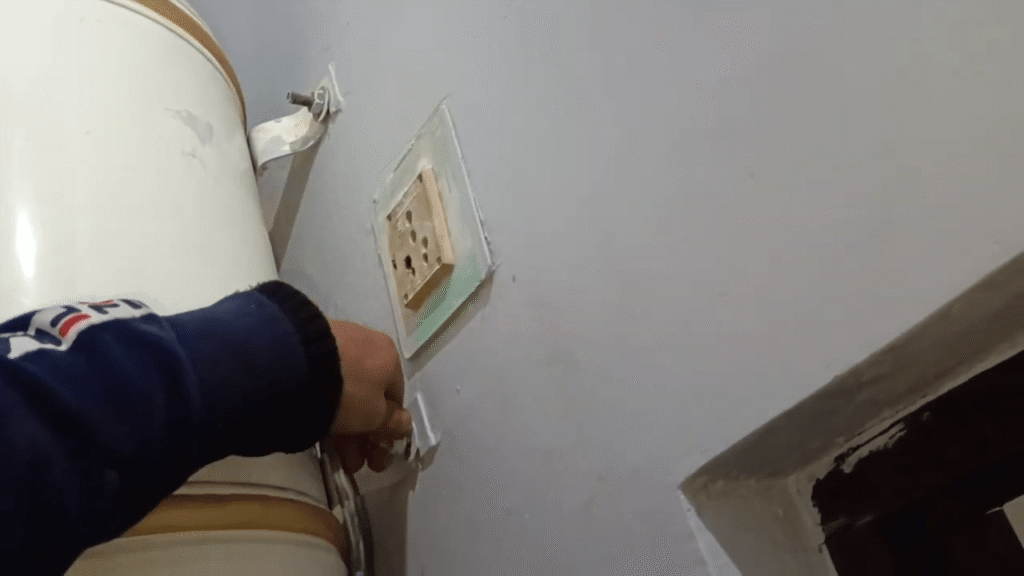
- Switch off the geyser at the wall switch or main circuit breaker (MCB) to cut all electricity.
- Unplug the unit from the electrical outlet completely.
- Confirm no power is flowing using a voltage tester or multimeter before proceeding.
- Never skip this step as working with electricity and water together poses serious shock risks.
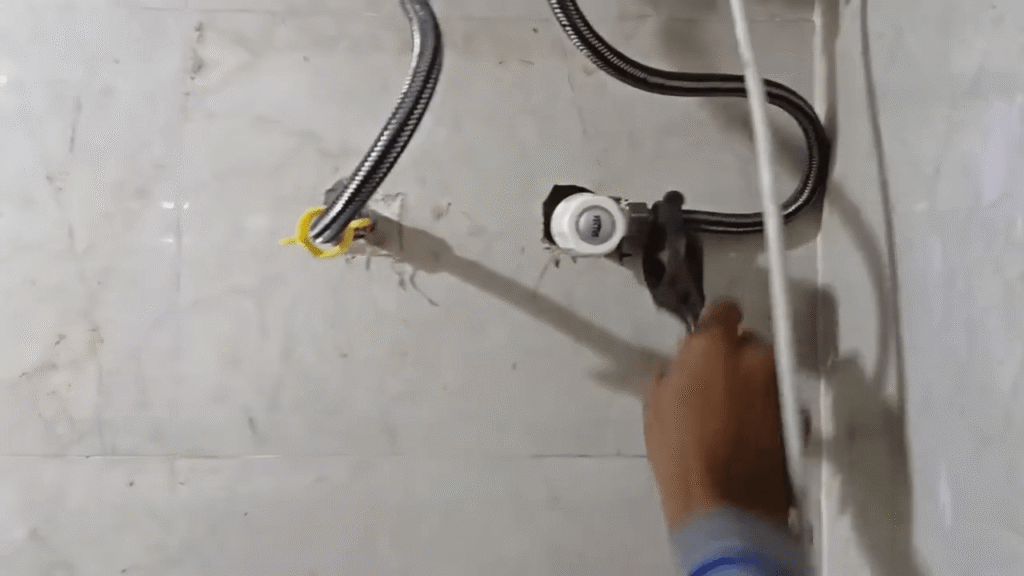
Step 2: Turn Off the Water Supply
- Close the inlet valve completely to stop water flow into the geyser.
- Open a hot water tap nearby to release internal pressure and allow air to escape.
- Keep the inlet valve closed throughout the entire uninstallation process.
- This prevents water from continuously flowing and makes draining easier.
Step 3: Drain the Geyser Tank (Storage Models Only)
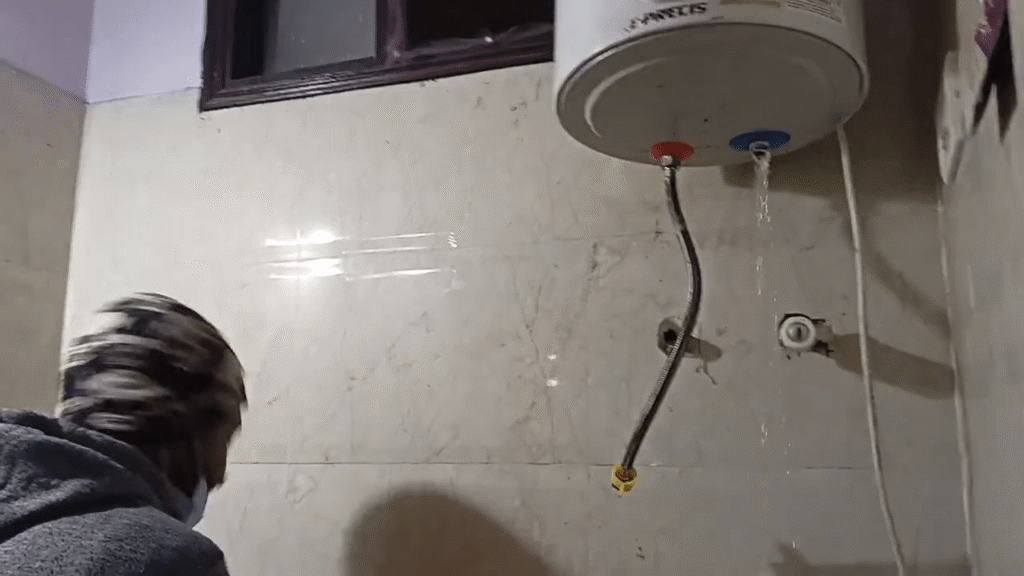
- Open the safety valve (relief valve or multi-function valve) by lifting the drain lever upward.
- Place a bucket underneath the discharge outlet to collect draining water.
- Allow water to drain completely until the tank is empty, making the unit lighter and safer to handle.
- If there’s no drain valve, disconnect the inlet pipe and let water flow out through that opening.
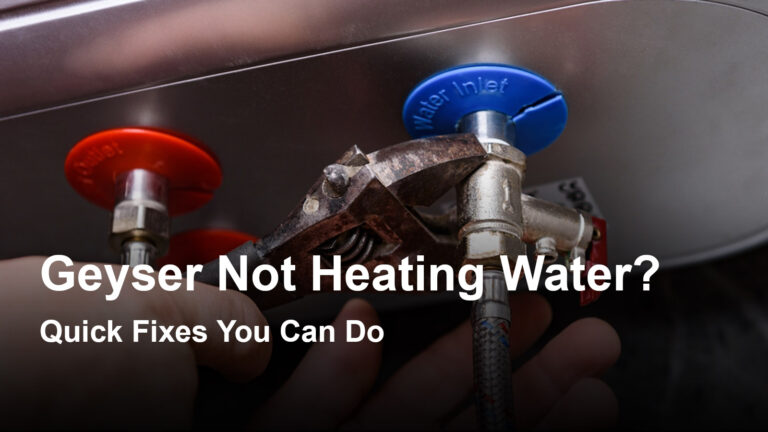
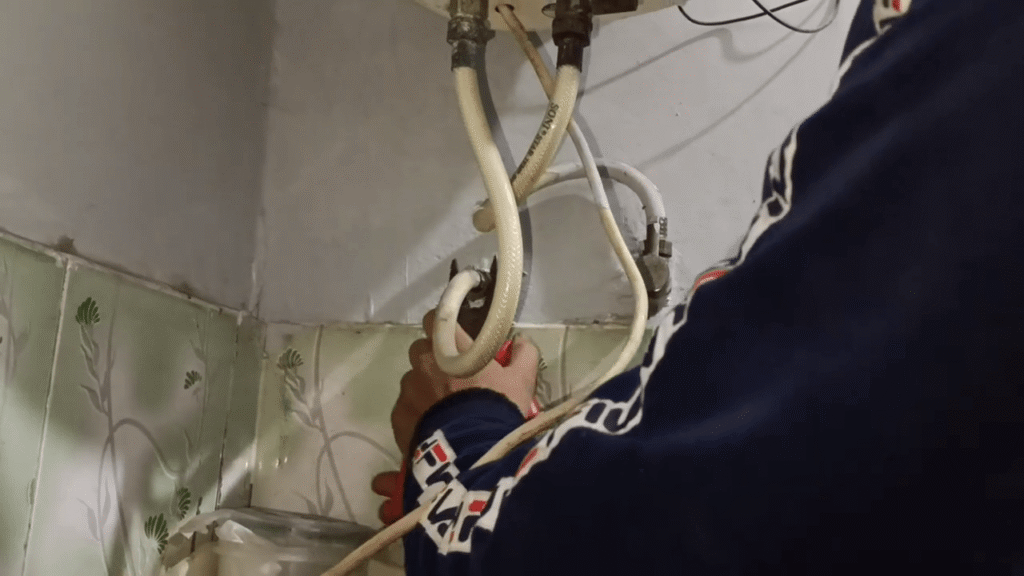
Step 4: Disconnect Inlet & Outlet Pipes
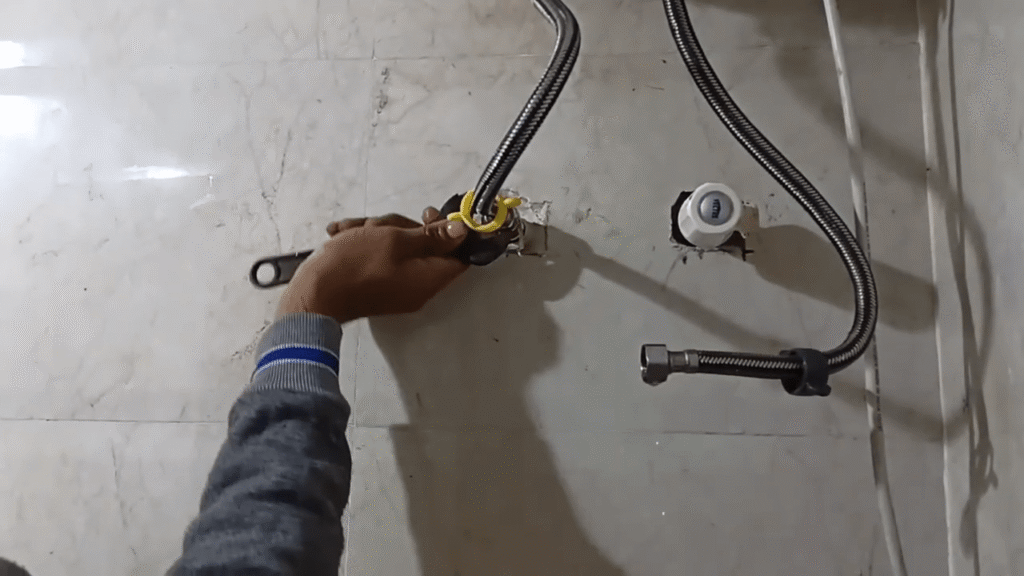
- Use a wrench to carefully unscrew and loosen the nut connections on both inlet and outlet pipes.
- Keep buckets and towels ready to catch any leftover water that may spill during disconnection.
- Remove flexible pipes or metal connections completely from the geyser.
- Handle connections gently to avoid damaging threads or fittings.
Step 5: Disconnect Electrical Wire Connections
- Remove the front panel or inspection cover if necessary to access internal wiring.
- Disconnect live, neutral, and earth wires carefully, noting their positions for future reference.
- Secure live wires with insulation tape immediately after disconnection to prevent accidental contact.
- Follow the internal wiring diagram shown in the manual if you need guidance on wire identification.
Step 6: Unmount the Geyser
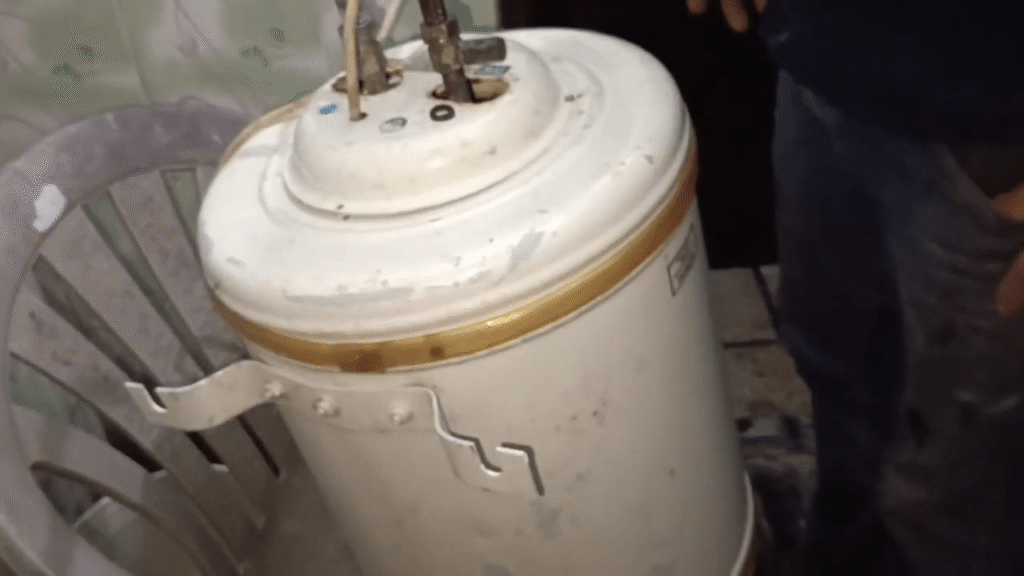
- Check the mounting brackets and identify all bolts, screws, or fasteners holding the geyser to the wall.
- Loosen and remove all mounting hardware using appropriate tools.
- Hold the unit firmly with both hands or get assistance while unscrewing the final fasteners.
Gently lift and lower the geyser down carefully once detached, ensuring it’s fully drained to avoid excess weight.
Hire Concord Service’s Geyser Technician Uninstallation & Repair
₹0 Advance Charges
Additional Steps for Instant Geysers
Instant geysers are a bit simpler to uninstall because there’s no tank to drain, but they still need a gentle touch. These units use smaller wall brackets, so handle them carefully to avoid bending or cracking the mount.
You’ll also notice the inlet and outlet connections are placed differently compared to storage models, which means you should take a moment to trace each line before disconnecting anything.
Simplified Process for Instant Water Heaters
Suggested Read:
Instant Geyser & Storage Geyser – Know The Differences & Facts
Geyser Power or Light Not Working? Step By Step Troubleshoot
After Uninstallation: What to Do Next
Common Mistakes to Avoid
Forgetting to turn off MCB or main power supply before starting, risking serious electric shock.
Unscrewing geyser without draining the storage tank first, making it dangerously heavy and difficult to handle safely.
Mishandling electrical wiring by not securing live wires with insulation tape after disconnection.
Pulling pipes forcefully instead of using a wrench, which can damage threads and fittings.
Not supporting the weight properly while unmounting, leading to drops and potential injury or equipment damage.
Suggested Read:
How to Install an Electric Geyser at Home Safely? Step-by-Step Guide
Geyser Not Heating Water? 8 Common Causes & Quick Fixes
When to Call a Professional
Sometimes, uninstalling a geyser becomes more than just a DIY task. If you’re dealing with heavy 15L to 25L storage models, complicated wiring setups, or walls that have rusted screws and tight, hard-to-reach pipe connections, it’s safer to step back.
And let’s be honest, any hint of electrical faults or a burning smell is a clear red flag. A trained technician not only handles these risks with the right tools but also protects your home from accidental damage while keeping you completely safe.
Uninstalling a water heater becomes much easier once you know the right steps and safety checks. Take your time, stay careful with the wiring and plumbing, and don’t hesitate to bring in a professional when things feel tricky. A smooth uninstallation sets the perfect stage for your new geyser.
Suggested Read: Safety Tips for Using Instant & Storage Geysers At Home